
Last updated November 2, 2026
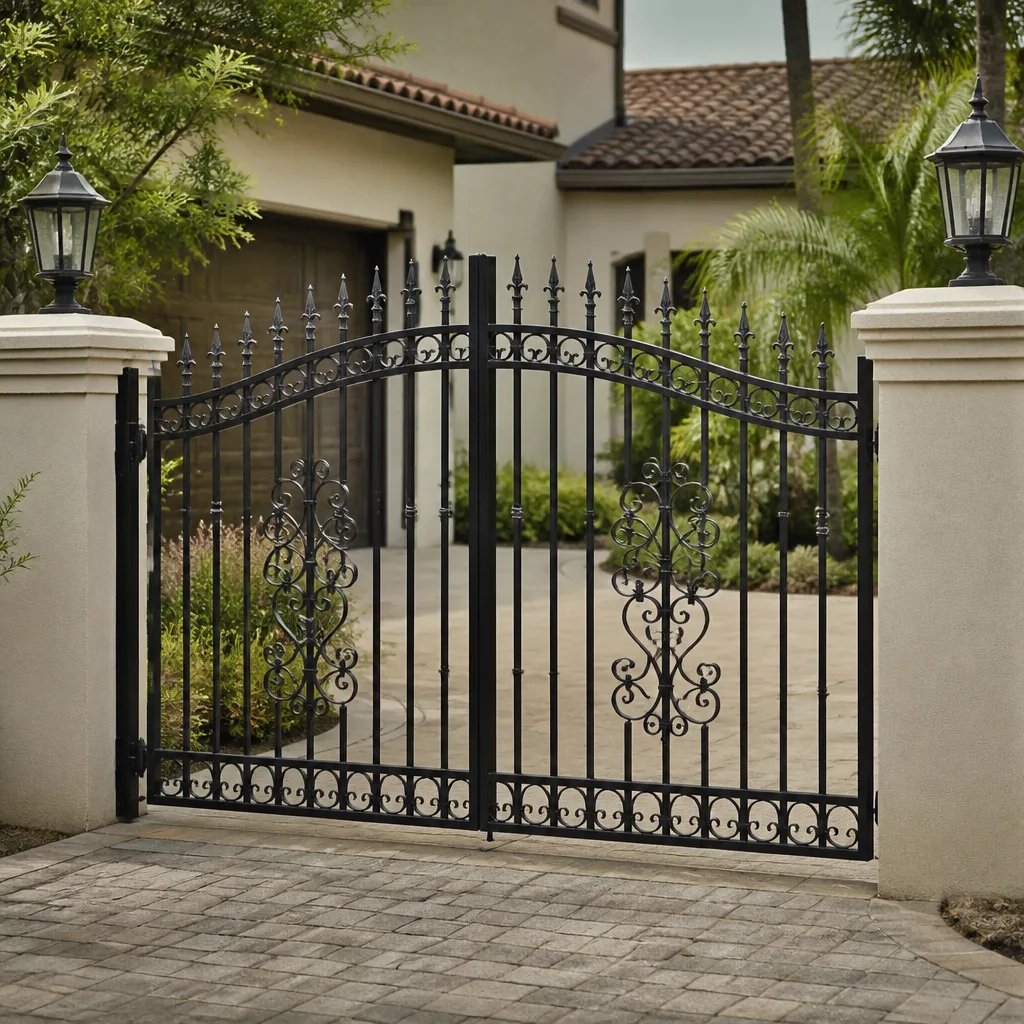 Wrought iron
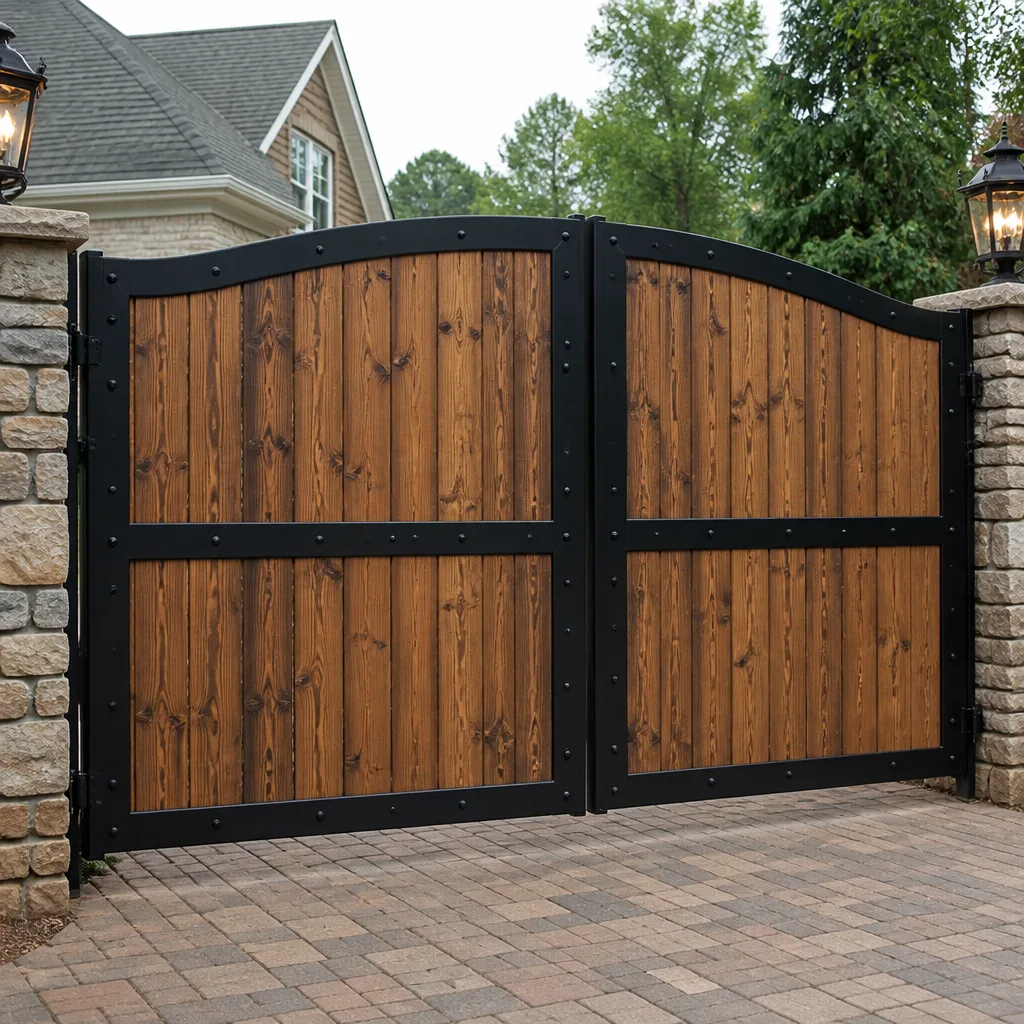 Wood & steel frame
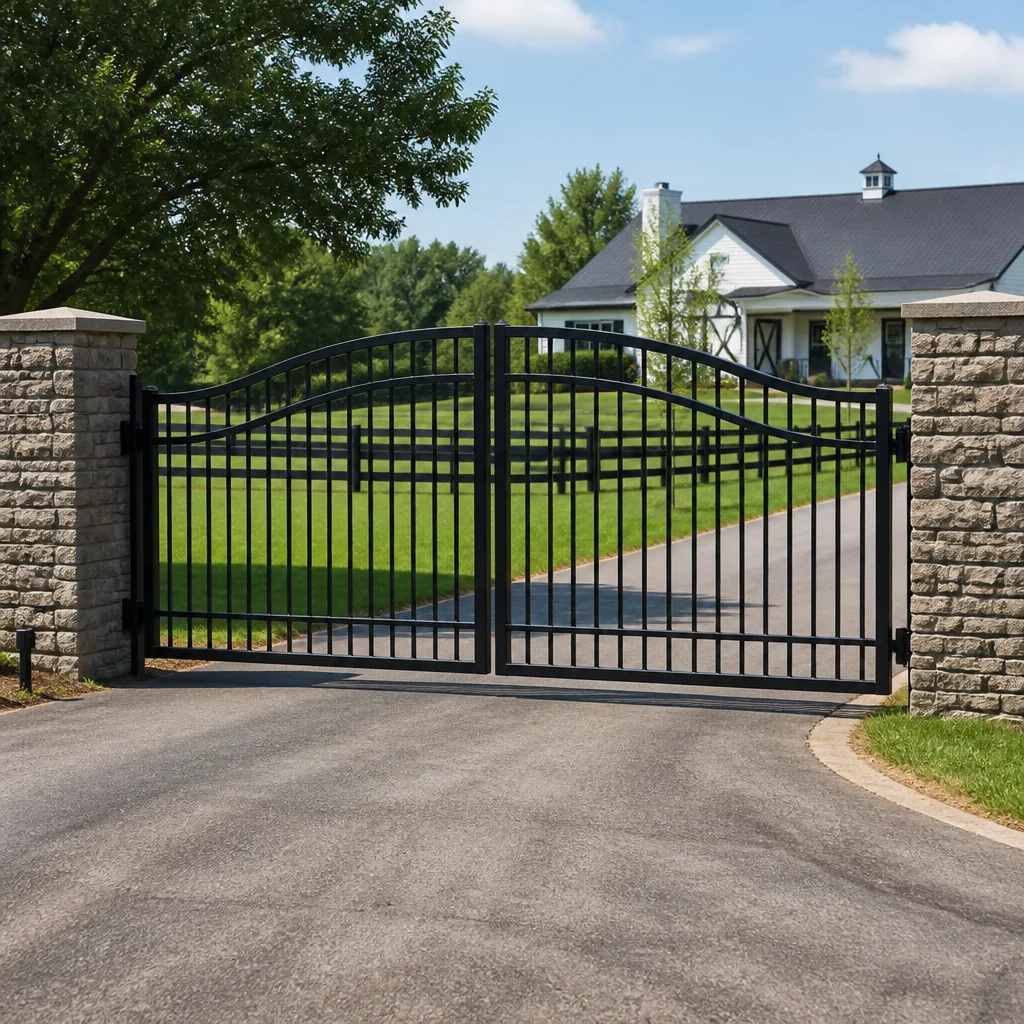 Farm & ranch
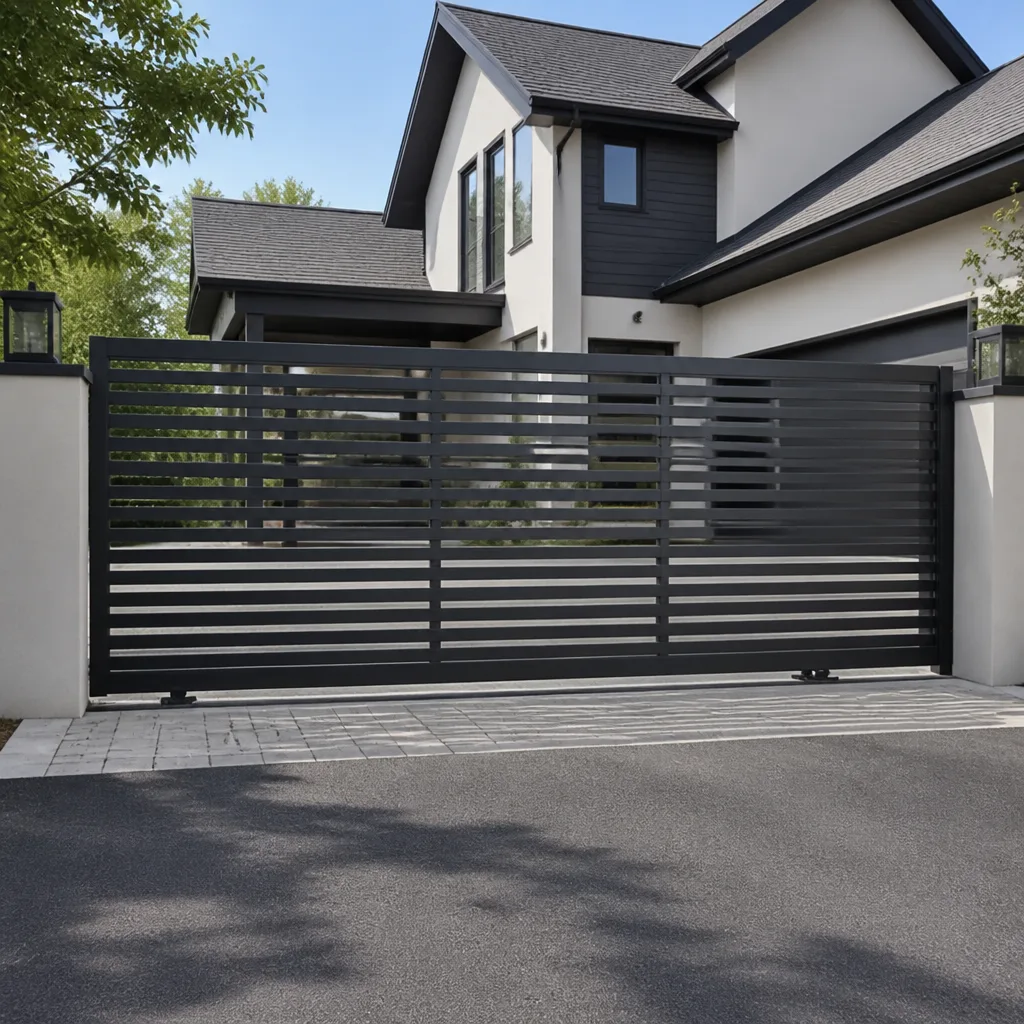 Sliding driveway gates
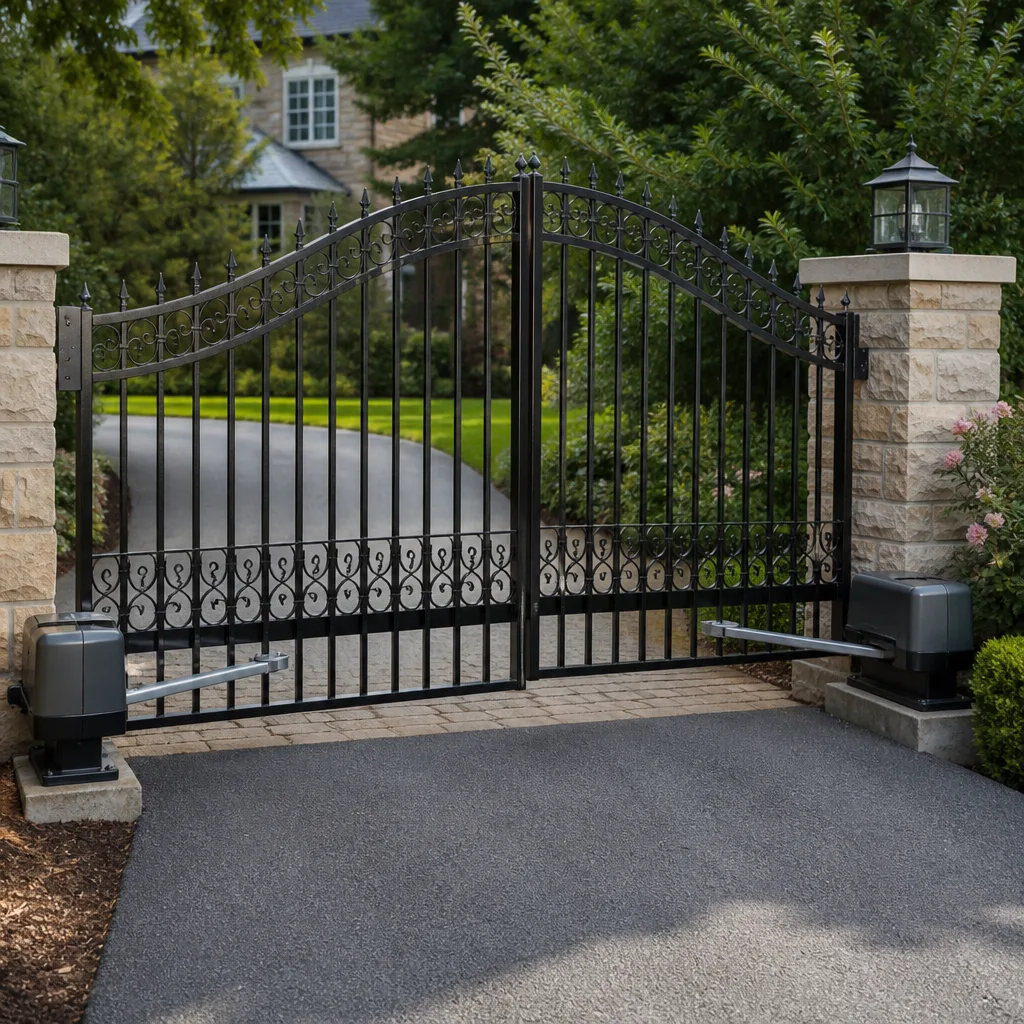 LiftMaster operators
Free on-site gate assessment - hinges, posts, and your LiftMaster or Nice gate operator checked before anything is quoted
The assessment is free and the quote is the invoice.
Get your free estimateGate Repair Warning Signs: A Jurupa Valley Homeowner’s Reference Guide
A gate that opens nine times out of ten isn’t “working fine.” That one failed cycle is the system telling you exactly where the failure is, and ignoring it is how a $200 control board replacement becomes a $1,500 motor job. Most gate failures in Jurupa Valley don’t happen suddenly. They announce themselves weeks or months in advance through sounds, hesitations, and small behavioral changes that get dismissed as quirks. This guide walks you through the warning signs we look for on every service call, from the obvious to the invisible, so you can catch a problem while it’s still a repair and not a replacement.
Styles & brands we work with
- Wrought iron
- Wood & steel frame
- Farm & ranch
- Sliding driveway gates
- LiftMaster operators
Quick Answer
The most common Gate Repair services warning signs in Jurupa Valley are hesitation or stalling during open and close cycles, grinding or whining sounds from the operator, intermittent remote failure, visible post lean, and a gate that reverses without obstruction. Any one of these signals a specific component under stress. Address it early and you’re typically looking at a repair under $400. Wait until the gate stops moving entirely and you’re often facing motor or gearbox replacement that runs $800 to $2,500 depending on brand and system type.
Table of Contents
- The Sounds Your Gate Makes: Motor Strain vs. Normal Operation
- Intermittent Remote Failure: Why It’s Almost Never the Remote
- Post Lean Detection: Measuring It Before It’s Too Late
- Safety Reversal Behavior as a Diagnostic Tool
- Control Board Warning Signs You Can See Without a Technician
- Hinge and Hardware Wear: The Mechanical Side of Gate Failure
- What Jurupa Valley Gate Repairs Typically Cost
- Common Mistakes to Avoid
- When to Call a Professional
- Frequently Asked Questions
- The Bottom Line
The Sounds Your Gate Makes: Motor Strain vs. Normal Operation
Every gate operator makes sound. A healthy LiftMaster or DoorKing motor produces a steady, mechanical hum that stays consistent from the moment the cycle starts until it stops. A failing motor doesn’t just get louder. It changes character.
The sound you’re listening for is what we call RPM lag. When the motor’s gearbox starts wearing, the motor audibly strains at the beginning of each cycle, then seems to catch up. You’ll hear a low groan that pitches up slightly as the gate gains momentum, followed by a subtle drop in pitch right before the gate stops. That pattern, strain then recovery then drop, tells us the gearbox is fighting internal friction. The grease inside has broken down or metal shavings from worn gears are contaminating the assembly.
A second diagnostic sound is a rhythmic clicking or ticking that syncs with gate movement. That’s usually the chain or belt drive skipping teeth on a worn sprocket. On Ghost Controls and Mighty Mule residential units, this often sounds like a soft ratchet. It means the drive system is about to slip entirely.
What about grinding? Grinding is never normal. A grinding sound from the operator housing on a FAAC or BFT unit typically indicates either a failed bearing or a gear that’s lost teeth. If you hear grinding, stop using the gate. Continuing to cycle a grinding operator turns a $300 gear replacement into a $1,200 motor replacement within days.
Normal operation sounds like a consistent electric hum with no pitch changes and no mechanical clatter. Anything else deserves attention. In Jurupa Valley, where summer heat regularly pushes past 100 degrees, we see gearbox failures accelerate in July and August. Heat thins the lubricant, metal expands, and a marginal gearbox fails faster. If your gate sounds different in summer than it did in spring, that’s not your imagination. That’s thermal stress.
Intermittent Remote Failure: Why It’s Almost Never the Remote
Here’s the scenario we hear constantly from Jurupa Valley homeowners: the remote works in the morning, fails at noon, works again at 5 p.m. They replace the battery. Then they buy a new remote. The problem persists. They call us frustrated, having spent $60 to $120 on parts that were never the issue.
In Inland Empire heat, intermittent remote failure almost always traces back to one of two things: the receiver board inside the operator, or the photoelectric safety sensors at the gate’s edge. Here’s why heat matters. Receiver boards on most residential operators, including Ghost Controls and Mighty Mule units, sit inside a metal housing that bakes in direct sun. As the board heats up, solder joints expand and micro-fractures open. The receiver stops responding. When the housing cools, the joints contract and the remote works again. It’s a thermal intermittency cycle, and it’s remarkably consistent across brands.
The second culprit is the safety sensor loop. If a sensor is marginally misaligned or partially obstructed by a weed, dust, or a spider web, the gate’s logic board sometimes interprets the signal as a safety fault and refuses to open. Remote signals arrive fine. The board just won’t act on them. This is especially common in Jurupa Valley’s windier months when dust and dry vegetation shift against photo eyes.
Before you replace anything, try this test: when the remote fails, walk up to the keypad or push-button station. If the gate opens from the hardwired control, your receiver or remote is the likely problem. If the hardwired control also fails, the issue is downstream, in the safety circuit or the board itself. That single test saves homeowners hundreds in misdiagnosed parts.
We work on all of these brands and see this pattern weekly. The remote is usually fine. The operator’s receiver or the safety loop is not.
Post Lean Detection: Measuring It Before It’s Too Late
A leaning gate post is a structural failure in progress. It’s also one of the easiest problems to diagnose yourself with a $15 level. The question is how much lean matters and when it needs action.
Start by placing a 4-foot level vertically against the post, on two adjacent faces. If the bubble sits outside the lines on either face, measure the gap between the post and the level at the top. Here’s the threshold we use:
- Less than 1/4 inch of lean over 4 feet: Monitor it. Check again in 30 days. If it hasn’t moved, it’s likely settled and stable.
- 1/4 to 1/2 inch of lean: The post is under active stress. On swing gates, this lean changes the gate’s swing arc and eventually affects latch alignment and the operator’s travel limits. Plan for a repair within 60 to 90 days.
- More than 1/2 inch of lean: The post’s footing is failing. Continued operation risks hinge failure, operator damage, or a gate that sags onto the ground. This requires immediate attention. Continuing to cycle the gate at this point can bend the hinge pins and crack the post welds.
In Jurupa Valley, the soil composition matters. Much of the area sits on sandy loam that shifts with moisture cycles. A gate post set in concrete that looked solid during installation can develop play after a single heavy winter rain, as the soil around the footing softens and recompacts. Properties along the Santa Ana River corridor and in the Mira Loma area see this more often than hillside homes where the soil drains faster.
Another check: look at the ground around the post footing. Cracks radiating outward from the concrete, or a visible gap between the soil and the footing, mean the foundation is loosening. You can’t fix that with shims. The post needs to be re-set or the footing replaced.
On automated gates, post lean creates a ripple effect. The operator senses the added friction and works harder. Motor life drops. The gate’s travel limits drift. The safety edge misaligns. One leaning post can trigger a chain of failures that costs thousands to unwind, all of which started with a quarter-inch of movement that got ignored.
Safety Reversal Behavior as a Diagnostic Tool
A gate that reverses without an obvious obstruction is not “being glitchy.” It’s running a diagnostic test and reporting a fault. The reversal behavior is the control board’s safety response, and the pattern of the reversal tells you which subsystem is triggering it.
Here’s how to read the behavior:
- Gate reverses immediately after starting to close: The safety edge or photo eyes are detecting resistance or a blocked beam within the first few inches of travel. Check for debris in the gate’s path, a sagging gate dragging on the ground, or a photo eye coated with dust. In Jurupa Valley’s dry season, a fine layer of dust on the sensor lens is enough to scatter the infrared beam and trigger a false reversal.
- Gate closes halfway, then reverses: This is usually mechanical resistance, not a sensor fault. The operator’s obstruction sensing circuit, which monitors motor current draw, is detecting a spike. Common causes: a hinge binding, a wheel dragging, or a chain that’s lost tension and is catching. The board interprets the current spike as an obstruction and reverses.
- Gate reverses at the same spot every time, even with a clear path: This points to a limit switch or travel module problem. The board thinks the gate has traveled too far and hits its force threshold, so it reverses. On DoorKing and Elite operators, this often means the limit nuts have drifted or the magnetic limits have lost their reference point.
- Gate opens fine, but reverses during close only when hot: Thermal expansion is altering the gate’s geometry. A metal gate expands in direct sun and rubs against its latch or stop. The added resistance triggers the safety circuit. The fix isn’t the board. It’s clearance adjustment or a hinge repair.
The key insight: safety reversal is not the problem. It’s the gate’s way of telling you there’s a problem. Replacing sensors or bypassing the safety circuit, which we’ve seen homeowners try, removes the warning system without fixing the underlying issue. A gate that gets bypassed becomes dangerous. The safety systems exist to keep a 300-pound moving panel from hitting a person, a car, or an animal. They also protect the operator from destroying itself against an obstruction.
Control Board Warning Signs You Can See Without a Technician
You don’t need to be an electrician to spot control board trouble. Most Jurupa Valley gate operators have a control panel accessible by opening the operator cover, and the board itself often carries visible evidence of its condition. Before you open anything, disconnect power at the breaker. Gate operators run on 110V or 220V, and the capacitor inside holds a charge even after power is cut.
Once the cover is off, look for these four things:
- Corrosion patterns: White, green, or blue powdery residue on solder points or connectors. This is particularly common in Jurupa Valley during fog season when coastal moisture pushes inland and condenses on cool metal surfaces. Corrosion creates resistance across connections, and resistance creates heat. A board that’s corroded is a board that will eventually fail, usually at the worst possible time.
- Burn marks or discoloration: Dark brown or black spots on the board, especially around relays, transformers, or larger capacitors. This is evidence of a past or ongoing electrical fault. A scorched relay usually means the motor drew more current than the board was rated for, which often means the motor itself is on its way out.
- Bulging or leaking capacitors: Capacitors are the cylindrical components standing upright on the board. A healthy capacitor has a flat top. A failing one bulges upward or shows crusty residue at the base. This is a classic failure point on residential operators that sit in direct sun, where internal temperatures cycle 40 to 50 degrees daily.
- Burn smell without visible damage: If the operator housing smells like burnt electronics but the board looks clean, the damage is on the underside. The board needs to be pulled and inspected. This isn’t a user-serviceable situation.
Error code patterns are another diagnostic window. Most DoorKing and Elite commercial operators have an LED display that shows numeric codes. A code that appears once and clears with a power cycle is usually a transient sensor fault. A code that returns every time the gate cycles is a hard fault that needs attention. Write down the code before resetting anything. The pattern, not just the number, is what matters. A code sequence that alternates between two numbers, for example, often indicates a wiring fault rather than a component failure.
If you’re not comfortable opening the operator housing, don’t. A photo of the board from a distance, or a note of the error code, is enough for us to give you a preliminary read over the phone.
Hinge and Hardware Wear: The Mechanical Side of Gate Failure
The operator gets all the attention, but the hinges, wheels, and latch hardware are what actually carry the gate’s weight. When mechanical hardware wears, the electric system compensates, and that compensation shortens the life of every electronic component downstream.
Start with the hinges. On a swing gate, open the gate and lift it from the latch end. A healthy hinge has no vertical play. If you feel movement, the hinge pin or bushing is worn. Listen for a squeak that appears at the same point in every cycle. That’s not just noise. It’s metal rubbing on metal without lubrication, and it’s machining the hinge pin thinner every time the gate moves.
On sliding gates, check the wheels and the track. A wheel with a flat spot creates a thump-thump-thump rhythm as the gate travels. Flat spots come from a gate that sits stationary in one position for weeks, especially in summer when the wheel material softens. The flat spot forces the motor to work harder on every cycle and eventually damages the gearbox. The track matters too. Jurupa Valley’s dry winds deposit fine grit in track grooves. That grit grinds against the wheel bearings and accelerates wear. A quick hose-out of the track every few months during the dry season prevents this.
Latch and lock alignment is the third area. When a gate’s latch no longer lines up with its strike plate, the immediate cause is usually post lean or hinge wear, covered earlier. But the symptom shows up here. The latch drags. The lock binds. The gate doesn’t fully seat in the closed position. On automated systems, that incomplete seating means the operator’s closed-limit switch never triggers, and the board may throw a fault or continue to apply pressure, which overheats the motor.
Hardware wear is cumulative and silent. Unlike a grinding gearbox, worn hinges don’t announce themselves loudly. The only way to catch them early is to physically check for play and listen for rhythmic sounds during operation. We’d rather repair hinges and wheels for $200 than replace a motor for $1,200, and that’s the trade hidden inside every worn hinge pin.
What Jurupa Valley Gate Repairs Typically Cost
Every gate problem has a price range, and knowing the range before you call helps you sort urgent issues from routine maintenance. These are current market ranges for Jurupa Valley based on the work we quote and complete. Your exact price depends on brand, gate size, and access, but these ranges are realistic for this area.
- Hinge replacement (per hinge, standard residential swing gate): $80 to $200 installed
- Wheel or roller replacement (sliding gate, single wheel): $60 to $180 installed
- Photo eye sensor replacement: $90 to $250 installed with alignment
- Remote programming or replacement (receiver issue ruled out): $40 to $120 per remote
- Control board replacement (residential, Ghost Controls or Mighty Mule): $180 to $400 installed
- Control board replacement (commercial, DoorKing or Elite): $350 to $900 installed
- Gearbox rebuild or replacement: $250 to $700 depending on brand
- Full motor replacement: $700 to $1,800 installed
- Post re-set or footing repair: $400 to $1,200 depending on footing size and access
- Complete operator replacement (residential swing gate): $1,200 to $3,000 installed
The pattern in these numbers: mechanical repairs are cheaper than electrical repairs, and electrical repairs are cheaper than structural repairs. A hinge caught early is under $200. A post left leaning for a year becomes a $1,000 footing job. A gearbox that grinds for two months becomes a $1,500 motor replacement. Early attention changes the category of the expense.
Whatever the repair, the price gets quoted and agreed before any work starts. You’ll never get a surprise invoice at the end of the job. If you want a detailed breakdown of what your specific gate needs, call (866) 383-9857 and we’ll walk through the symptoms with you.
For a full look at repair options and our process, see our Gate Repair in Jurupa Valley page. If the problem is electrical, our Electric Gate Repair in Jurupa Valley page covers motors, boards, and safety systems in detail. And if the gate is beyond repair, we handle full Gate Installation in Jurupa Valley as well.
Common Mistakes to Avoid
- Ignoring intermittent behavior because “it works most of the time.” Intermittent failure is a diagnostic gift. The system is failing in a specific, repeatable pattern. Every cycle you let it continue moves the problem toward permanent failure and a bigger repair bill.
- Replacing the remote without testing the receiver. We covered this earlier, but it bears repeating. In Jurupa Valley’s heat, receiver boards fail more often than remotes do. Test with the hardwired control before spending money on a new remote.
- Lubricating hinges without cleaning them first. Fresh lubricant over old grit creates a grinding paste that accelerates wear. Clean the hinge pin, then lubricate. Better yet, let a gate specialist do it so the right lubricant gets used for your specific hinge type.
- Bypassing the safety reversal system to “fix” a reversing gate. The reversal is the symptom, not the disease. Bypassing it turns a nuisance into a hazard and usually leads to operator damage when the gate finally meets real resistance.
- Letting a post lean “a little” for too long. A quarter-inch of lean is manageable. A half-inch is urgent. The gap between those two states can be as short as a few months in Jurupa Valley’s shifting soil. Measure it now, not later.
- Replacing an operator on a gate that’s structurally unsound. A new motor on a leaning post or sagging gate will fail prematurely. The structural issue has to be fixed first. We see homeowners spend on new operators and get two years of service instead of ten because the gate underneath was never right.
- Waiting until the gate stops entirely to call. A gate that won’t move costs more to diagnose and more to repair than a gate that’s showing early symptoms. The final failure usually damages multiple components simultaneously.
When to Call a Professional
Some gate problems are maintenance. Some are repairs. Some are emergencies. Here’s the line: if your gate grinds, if it reverses repeatedly without obstruction, if your post leans more than a quarter-inch, or if you smell burnt electronics, call a specialist before the next cycle. If you’re not sure what’s wrong, that’s also a good time to call. A diagnostic visit costs less than a misdiagnosed repair attempt. Gate Repair Jurupa Valley offers free estimates in Jurupa Valley. Call (866) 383-9857 and tell us what the gate is doing. We’ll tell you over the phone whether it sounds urgent or manageable, and we’ll schedule accordingly. We carry parts for Gate Repair Jurupa Valley home service calls across all the residential and commercial brands we support, so most repairs get completed on the first visit, not the third.
Frequently Asked Questions
Gate repair in Jurupa Valley typically ranges from $80 for a minor hinge replacement to $1,800 for a full motor replacement, with most repairs falling between $150 and $500. For Seasonal Gate Repair Care for Jurupa Valley: Year-Round Homeowner’s Guide, see our maintenance tips. The price depends on what’s failed, your gate’s brand, and whether the problem is mechanical, electrical, or structural. Call (866) 383-9857 for an exact quote after a quick phone diagnosis. Estimates are free.
Same-day emergency service is available for gates that won’t close or won’t open, leaving your property unsecured or inaccessible. If your gate has failed completely, call (866) 383-9857 and we’ll prioritize your call. If the gate is still operating but making noise or acting intermittently, we’ll typically schedule you within a day or two. Either way, the phone diagnosis is free.
Intermittent gate failure in Jurupa Valley is usually caused by heat-related receiver board issues, a marginal safety sensor connection, or a limit switch that has drifted out of position. These all create failures that come and go with temperature cycles, moisture, or vibration. The pattern of when it fails is the key diagnostic clue. Tell us exactly when it fails, and we can usually narrow it down before we even arrive.
Yes. We service and install Mighty Mule and Ghost Controls residential operators, along with DoorKing, Elite, FAAC, BFT, LiftMaster, Linear, and Viking systems. We diagnose by brand-specific behavior, so when your Mighty Mule starts acting up, we know the common failure points for that specific model family, not just generic gate problems.
A gate post that leans more than a quarter-inch over four feet is under active stress and should be addressed within 60 to 90 days. More than a half-inch of lean means the footing is failing and the gate risks dropping or damaging the operator. In Jurupa Valley’s sandy loam soil, post lean can progress quickly after heavy rain, so measure it now and watch it monthly.
If the gate grinds, reverses repeatedly, or makes sounds that change during the cycle, stop using it. Continued operation converts a repairable gearbox into a destroyed one, or a struggling motor into a burned-out one. If the gate is simply slow or has a squeaking hinge, you can usually continue using it briefly while waiting for your appointment. When in doubt, call (866) 383-9857 and describe the sound. We’ll tell you whether to keep cycling it or leave it alone.
The Bottom Line
Gates fail in two ways: visibly and invisibly. The visible failures, bent panels, broken hinges, gates that won’t move, get immediate attention. The invisible ones, motor strain you can hear but ignore, remotes that fail only at noon, posts that lean a quarter-inch, safety reversals without obstructions, are the expensive ones. They compound quietly while the gate still works, until the day it doesn’t. Catching them early is the difference between a $200 hinge repair and a $1,500 motor replacement, between a $300 board swap and a $3,000 structural rebuild. If anything in this guide sounds familiar, call (866) 383-9857 for a free estimate. We’ll listen to the symptoms and tell you honestly what needs attention now, what can wait, and what it should cost. That’s the whole job: finding the failure while it’s still small.
Written by the team at Gate Repair Jurupa Valley, serving Jurupa Valley since 2015. Explore more guides & resources.
See the difference
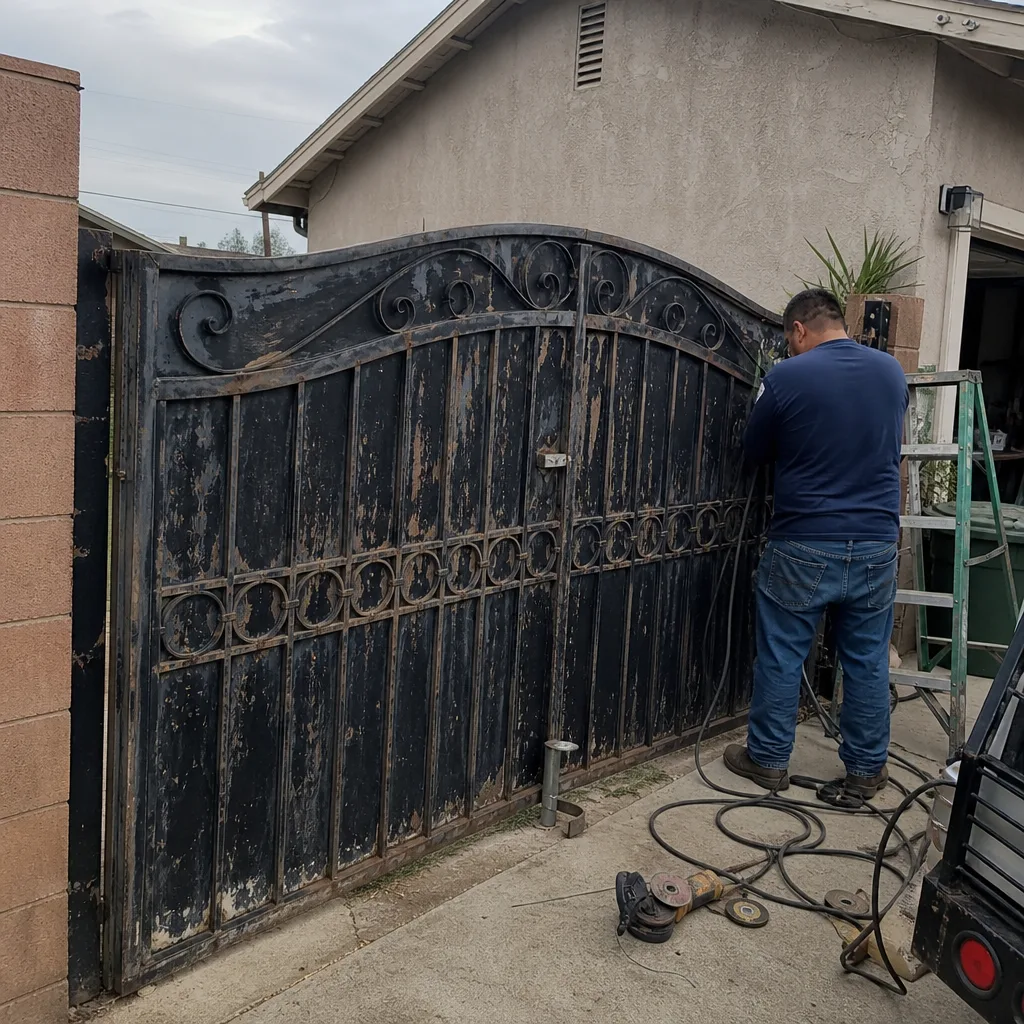 Before
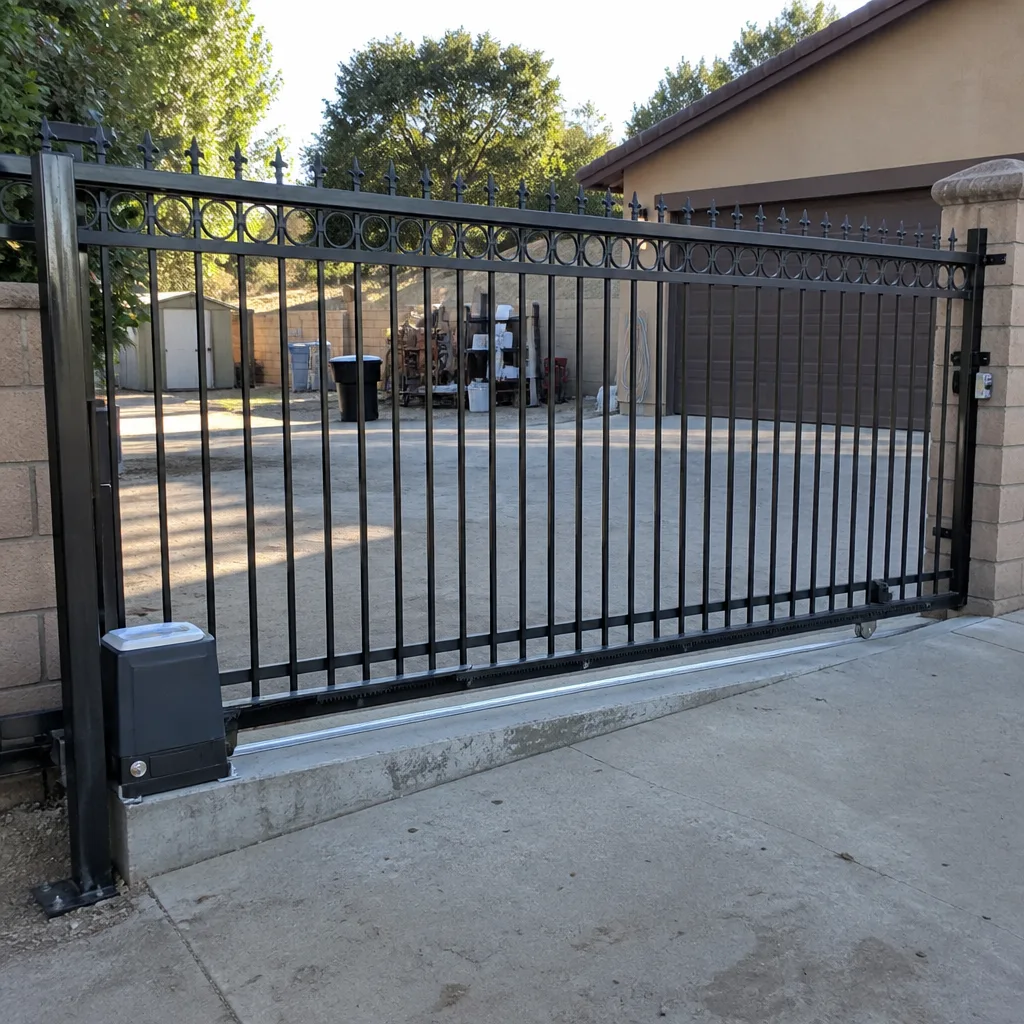 After
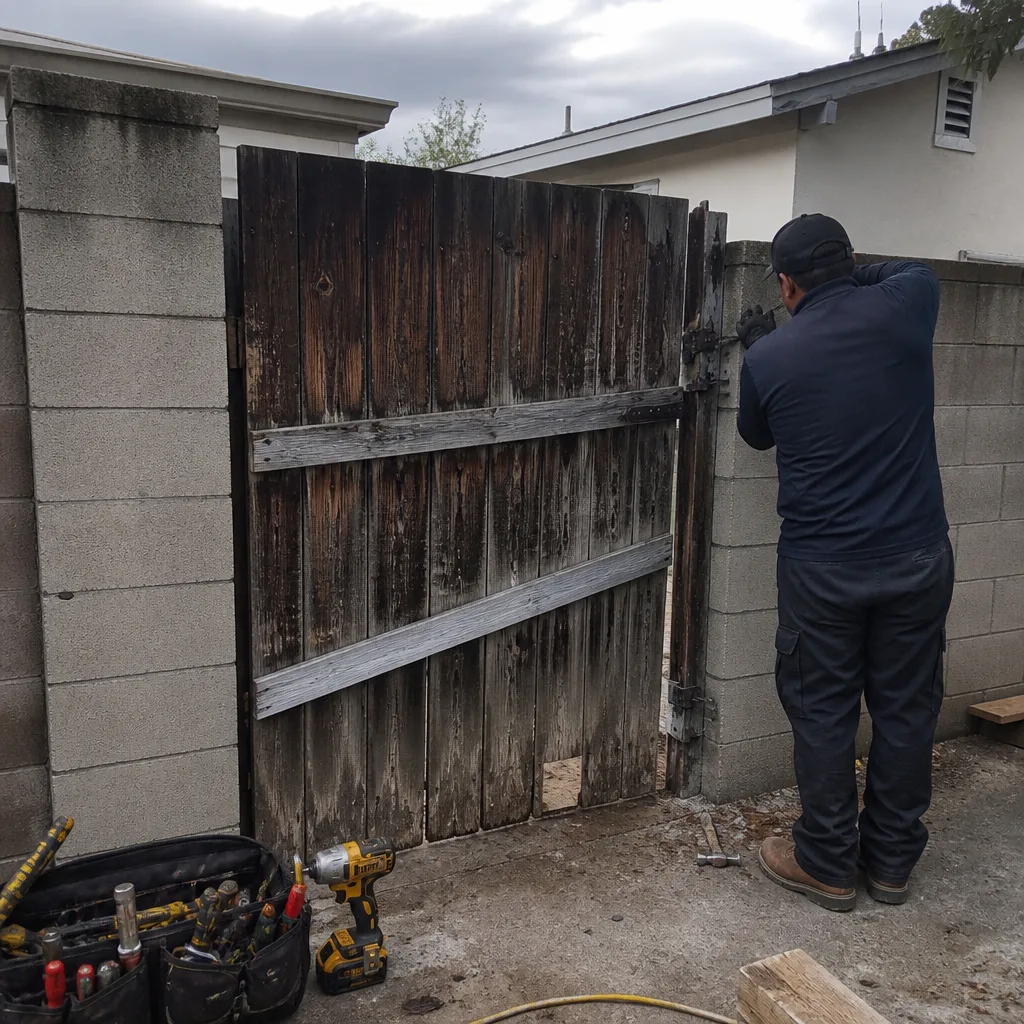 Before
 After
 Before
 After