
Last updated November 2, 2026
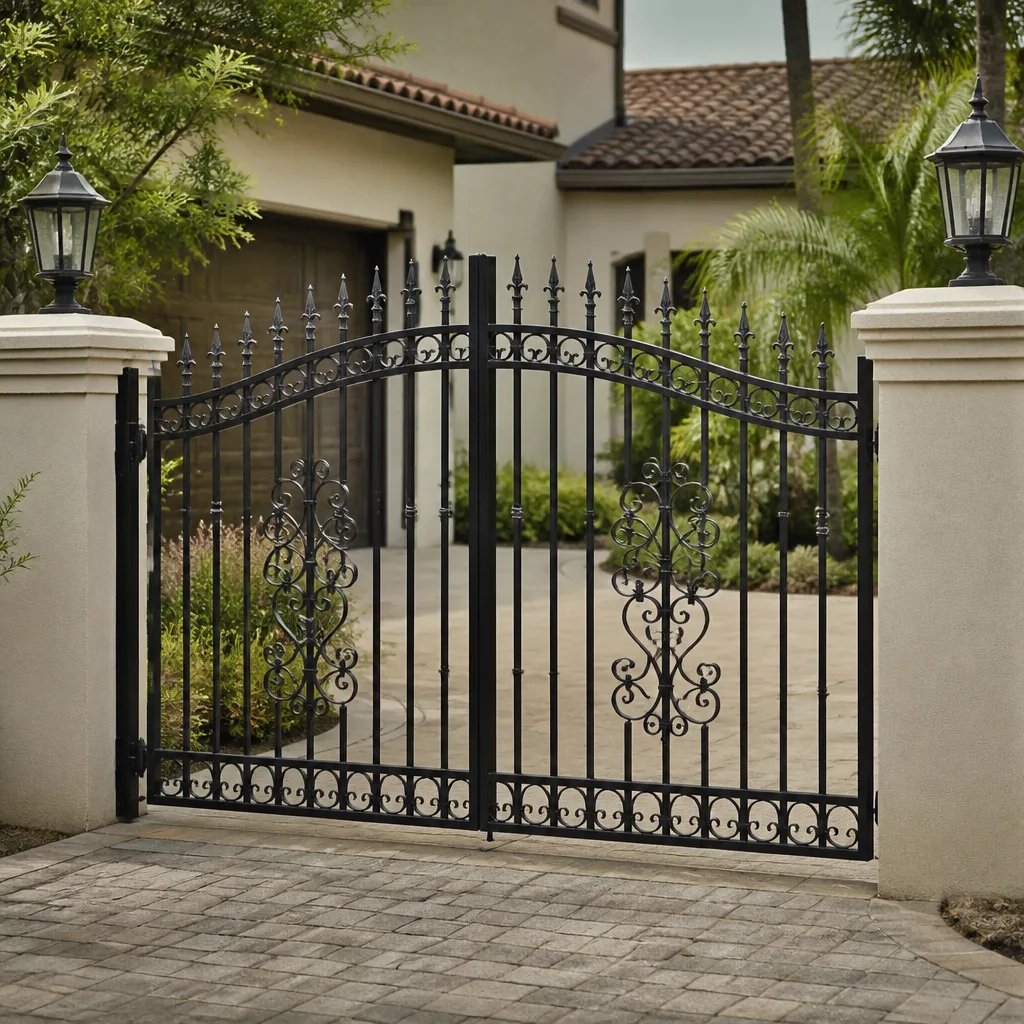 Wrought iron
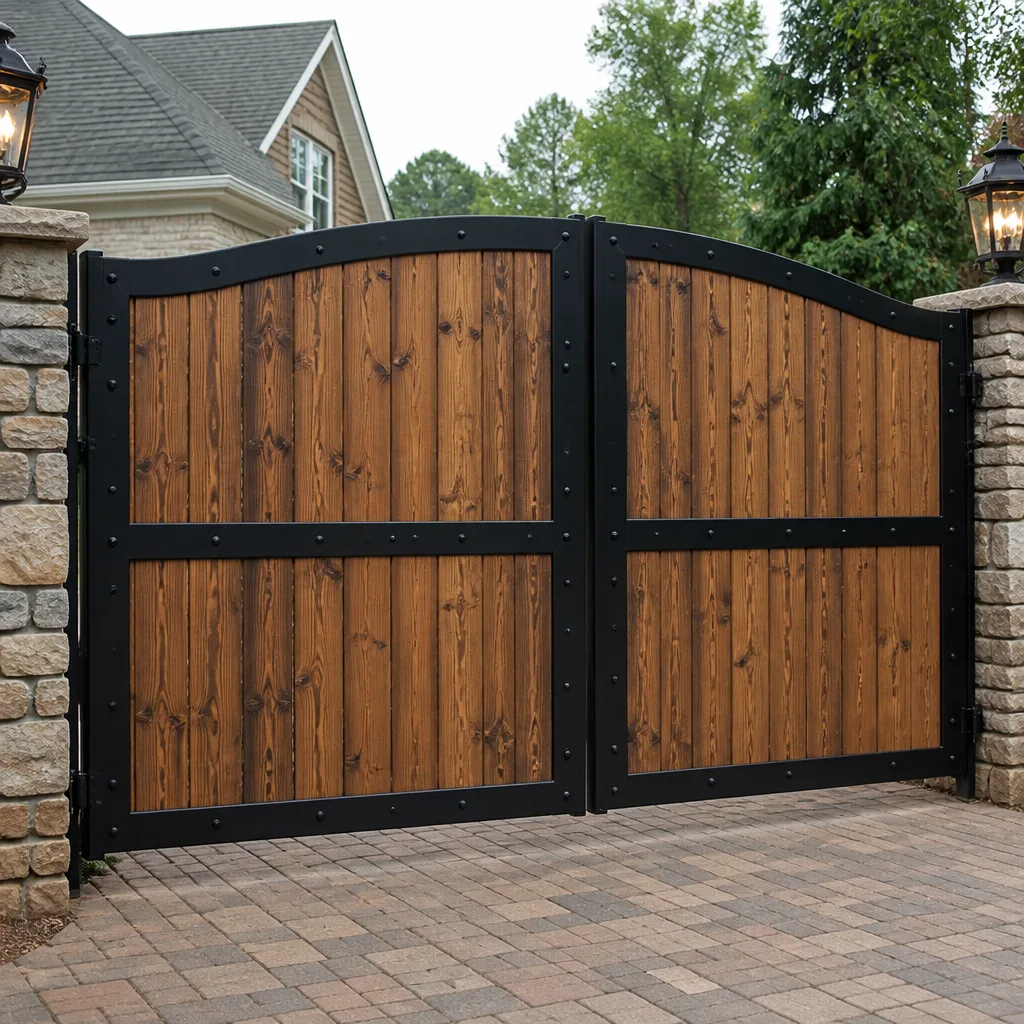 Wood & steel frame
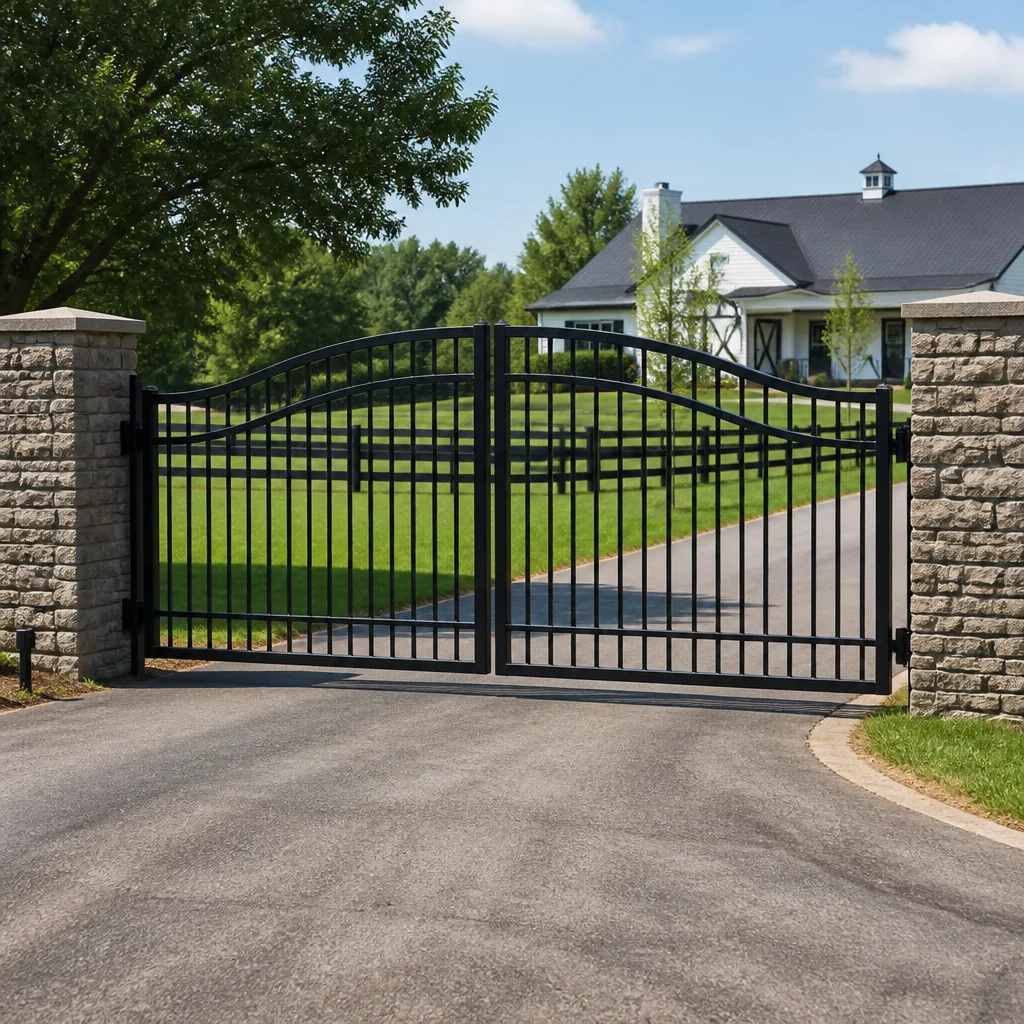 Farm & ranch
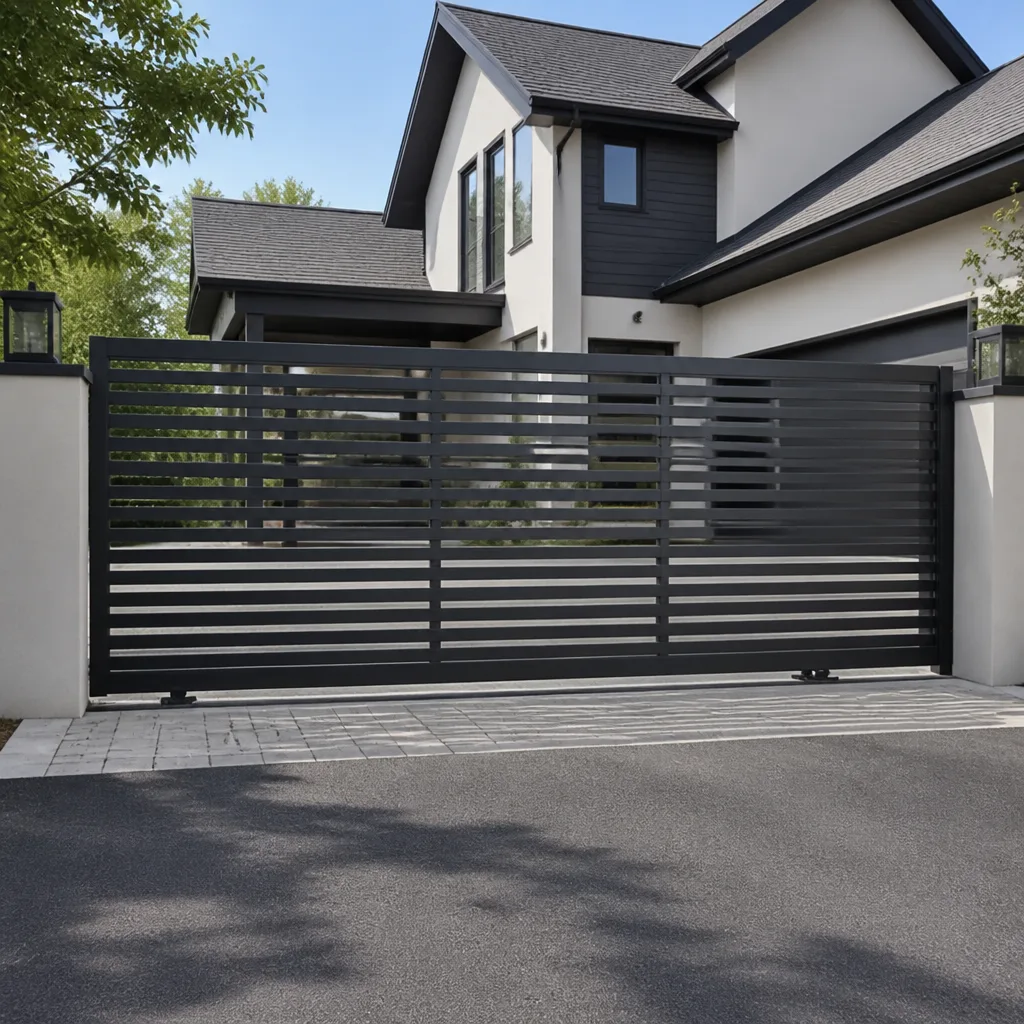 Sliding driveway gates
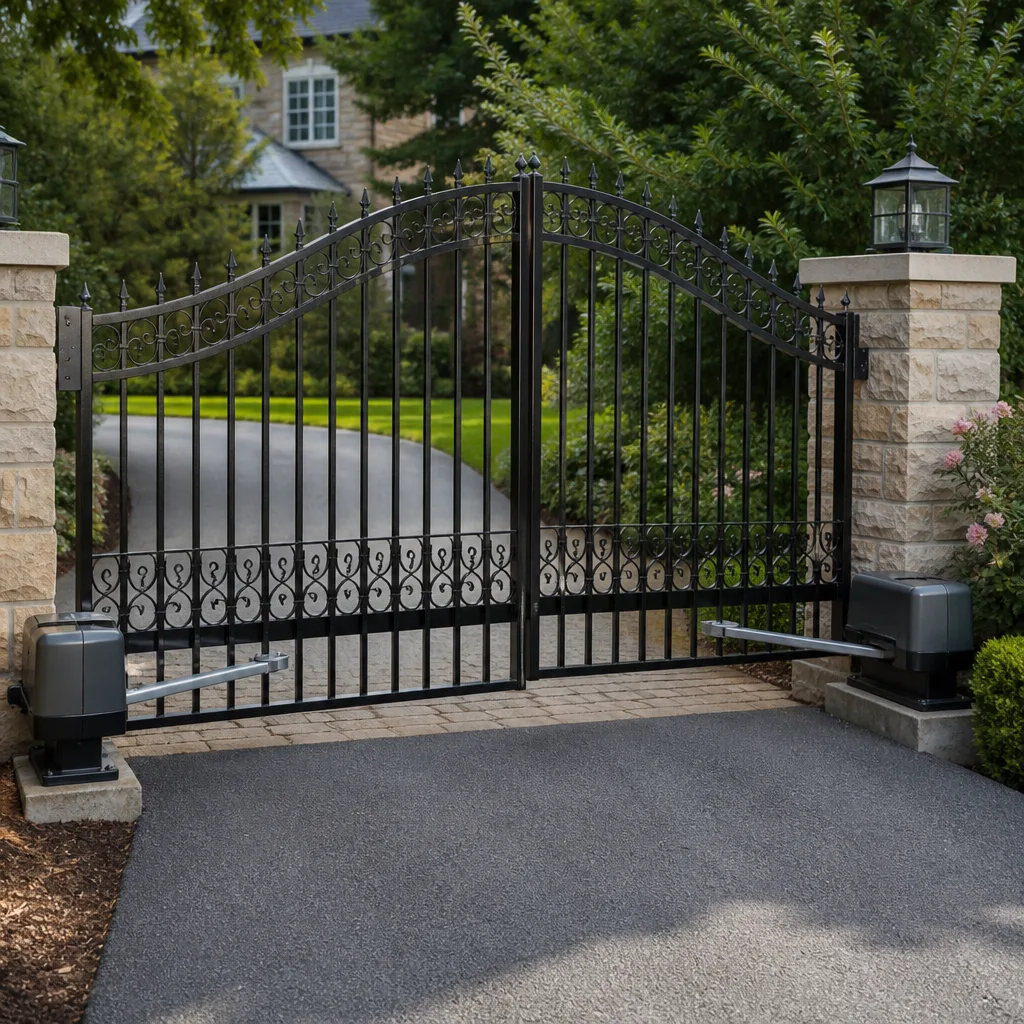 LiftMaster operators
Free on-site gate assessment - hinges, posts, and your LiftMaster or Nice gate operator checked before anything is quoted
The assessment is free and the quote is the invoice.
Get your free estimateGate Repair Troubleshooting: Common Problems and How to Fix Them
Your gate stopped mid-cycle and reversed. That’s not random. Every major operator brand uses a specific blink-code pattern on the control board’s LED to tell you exactly what tripped the fault. Most homeowners never look for it, and most generic repair articles never mention it exists. This guide changes that. We’re going to teach you how to read the diagnostic signals your gate operator is already broadcasting, so when you call a technician for our Gate Repair services in Jurupa Valley, you’ll know whether you’re describing a $40 sensor adjustment or a $900 board replacement before anyone even shows up.
Quick Answer
Most gate failures fall into one of three categories: power or electrical faults, mechanical obstructions, or logic and programming errors. You can identify which category you’re dealing with in under five minutes by checking the control board’s LED blink pattern, testing the manual release, and observing exactly when and how the gate fails. Fixing the problem yourself is realistic for sensor misalignment and minor obstruction issues, but anything involving the motor, circuit board, or high-tension mechanical components should go to a trained gate specialist (see our How to Hire a Gate Repair Contractor in Jurupa Valley: A Step-by-Step Guide).
Styles & brands we work with
- Wrought iron
- Wood & steel frame
- Farm & ranch
- Sliding driveway gates
- LiftMaster operators
Table of Contents
- How to Read LED Blink Codes on Your Gate Operator
- The Three-Category Triage System: Diagnose in Under Five Minutes
- Safe Tests You Can Perform vs. Tests That Require a Technician
- Why Intermittent Failures Are Harder to Diagnose Than Complete Failures
- Power and Electrical Faults: What to Check First
- Mechanical Obstruction Faults: Hinges, Wheels, and Tracks
- Logic and Programming Faults: Remotes, Keypads, and Settings
- How to Communicate a Gate Problem to a Technician
How to Read LED Blink Codes on Your Gate Operator
Every gate operator control board has a diagnostic LED that flashes in specific sequences when something trips a fault. The pattern is the machine telling you what’s wrong. Learning to read it takes about ten minutes and saves you from guessing. Most operators manufactured in the last fifteen years follow a similar convention: a certain number of flashes, then a pause, then the sequence repeats. The trick is knowing which brand you have and what its specific patterns mean.
LiftMaster operators, common on residential gates across Jurupa Valley, use a status LED that blinks in numbered sequences. Two blinks typically indicate a photo-eye obstruction or misalignment. Five blinks often points to a motor overheat condition. LiftMaster boards also have a diagnostic recall function: press and release the yellow learn button once, and the LED will replay the last fault code it logged. That’s useful when the gate fails intermittently and you’re not standing there when it happens.
FAAC boards use a different signaling method. Many FAAC models have a built-in display or a series of LEDs labeled with functions like FSW (safety device), STOP, and OPEN. When a FAAC gate refuses to move and the FSW LED is lit, a safety edge or photocell is sending a constant obstruction signal. BFT operators often blink the courtesy light a specific number of times to communicate faults, and Linear boards use a diagnostic LED next to the terminal strip with a numbered blink pattern referenced in the install manual.
Here’s the practical advice: check the LED before you touch anything else. Open the control box cover, observe the light, and count the blinks. Write the pattern down. Then search for your brand name plus “blink code” plus the number of flashes. That single observation often narrows the problem from “gate doesn’t work” to “safety sensor fault on a LiftMaster operator.” We’ve seen homeowners in Jurupa Valley diagnose their own issues this way, and we’ve also seen technicians spend an hour hunting for a problem that the board was already reporting. For Gate Repair Warning Signs: A Jurupa Valley Homeowner’s Reference Guide, check our dedicated resource.
What to look for:
- A solid LED typically means the board has power and no active fault
- A blinking LED in a repeating sequence is a specific fault code
- No LED at all usually means no power reaching the board
- A rapidly flickering LED can indicate a short or loose connection
If you’re unsure what the pattern means, take a short video of the LED with your phone and send it to a gate specialist. At Electric Gate Repair in Jurupa Valley, we ask customers to do this before we dispatch. It frequently lets us bring the right part on the first trip.
The Three-Category Triage System: Diagnose in Under Five Minutes
Before you open a single panel, you can usually place a gate problem into one of three buckets: power and electrical, mechanical obstruction, or logic and programming. Each category behaves differently, and the differences are observable by anyone willing to spend five minutes watching and testing.
Category one: power and electrical faults. The gate does nothing. No hum, no click, no movement. The keypad doesn’t light up, the remote does nothing, and the manual release may or may not work depending on where the failure is. These are the simplest to identify and sometimes the cheapest to fix: a tripped breaker, a dead battery in the remote, a blown fuse on the board, or a failed transformer. But they can also be the most serious: a burned-out motor or a shorted control board.
Category two: mechanical obstruction faults. The gate tries to move and fails. You hear the motor hum or strain, the gate jerks an inch and stops, or it reverses immediately after contact. Something physical is preventing movement. That could be a bent track, a failing hinge, debris in the path, or a wheel off its guide. The operator is doing its job by refusing to push through the obstruction, which is exactly what the safety systems are designed to do.
Category three: logic and programming faults. The gate works sometimes and not others. It opens but won’t close. The remote only works from three feet away. The keypad accepts your code but won’t open the gate after a power outage. The gate opens halfway and stops at roughly the same spot every time. These point to limit settings, remote programming, or a board that has lost its settings. Logic faults are the most likely to be misdiagnosed as mechanical issues because the symptoms overlap.
Here’s the five-minute triage process we use, adapted for a homeowner:
- Press the remote and listen. Nothing at all suggests power. A click or hum suggests the board is alive and the problem is downstream.
- Try the manual release. If the gate swings or slides freely by hand, the mechanical path is fine and your problem is electrical or logic.
- If the gate is hard to move by hand, you have a mechanical issue: hinge, wheel, track, or obstruction.
- Check the LED on the control board. No light means power problem. A blinking code means the board has identified the fault for you.
- Test both remotes and the keypad. If nothing works, the issue is at the operator. If one remote fails while another works, it’s a remote programming issue.
This triage won’t fix your gate, but it will tell you whether you’re calling for a mechanical repair, an electrical diagnosis, or a reprogramming visit. That matters because it sets expectations for cost and time, and it prevents the wrong part from being ordered. We use the same framework on every service call we run in Jurupa Valley, and it works whether the gate is a light residential Mighty Mule or a heavy commercial DoorKing.
Safe Tests You Can Perform vs. Tests That Require a Technician
There’s a hard line between what a homeowner should attempt and what needs a trained gate specialist. The line is drawn by two things: the voltage running through the component and the stored mechanical energy in the gate itself. Cross that line and the risk shifts from a wasted afternoon to a hospital visit.
Safe tests for homeowners:
- Manual release test. Every automatic gate has a manual release mechanism, usually a lever, key, or pull handle on the operator. Disengage it and move the gate by hand. This tells you whether the operator is fighting a physical problem or the gate itself moves freely. It also confirms the gate isn’t mechanically bound.
- Photo-eye and safety edge alignment check. Look at the photocells mounted on either side of the gate opening. They should face each other directly, with clean lenses and a solid green or red indicator light. If one is loose, pointed at the ground, or covered in spider webs or dirt, the gate may refuse to close. Clean the lenses and check that both sensors are aimed at each other.
- Visual inspection of the track, hinges, and wheels. Walk the full path of the gate. Look for debris in the track, bent rails, cracked hinge welds, missing wheel bolts, or sagging gate leaves. A slide gate dragging on the ground or a swing gate leaning on its hinges creates friction that the operator reads as an obstruction.
- Remote battery replacement and reprogramming check. Swap the battery, then test the remote from the same distance you normally use it. If the remote programs but only works at close range, that’s an antenna or receiver issue, not a remote issue.
- Breaker and outlet check. Gate operators should be on their own circuit. Confirm the breaker isn’t tripped and the outlet the operator plugs into still has power. A GFCI outlet that has tripped is a common cause of completely dead gates.
Tests and repairs that require a trained professional:
- Any work inside the control box beyond visual inspection. Control boards carry 120V or 240V at the incoming terminals, and capacitors on the board can hold a charge even after power is disconnected.
- Limit switch adjustment on operators with physical limit cams. The cams sit near moving gears and chains. Setting them requires understanding of the full travel cycle, and setting them wrong can cause the gate to slam past its stopping point.
- Spring tension work on swing gates. Some swing gate systems use torsion or tension springs to counterbalance the gate leaf. These springs store a significant amount of energy and can cause serious injury if released incorrectly.
- Motor or gearbox replacement. The motor and gearbox are integrated into the operator housing in most modern systems. Disassembly requires knowledge of the specific brand’s assembly sequence and often specialized pullers or spanners.
- Safety loop testing and replacement. Vehicle detection loops are buried under the driveway and connected to a loop detector module on the board. Testing them requires a multimeter and knowledge of what resistance values are normal for your specific loop detector. Diagnosing a loop fault incorrectly can leave the gate unsafe for vehicles.
We’re a gate specialist, not a generalist, and that distinction matters most when a customer has already attempted a repair and made the problem worse. We’ve arrived at homes in Jurupa Valley where a well-intentioned DIY limit adjustment turned a simple fix into a motor gear strip because the operator was run past its mechanical stop. If a test requires opening a motor housing, removing a spring, or probing a live board, that’s where the phone call to a professional begins. For residents in our service area, Gate Repair in Jurupa Valley starts with a free estimate and a clear explanation of what we’re going to do before we do it.
Why Intermittent Failures Are Harder to Diagnose Than Complete Failures
A gate that won’t move at all is straightforward. Find the failed component, replace it, done. A gate that fails once a week, or only on cold mornings, or only when the neighbor’s truck parks in a particular spot, is a diagnostic puzzle. Intermittent failures require data collection before diagnosis, and that’s where most homeowners give up and call a technician with no information beyond “it’s been acting weird.”
The reason intermittent faults are hard is that they’re often caused by conditions rather than components. A solder joint on the control board expands in heat and loses contact. A safety loop wire shifts in the ground when the soil is wet. A photocell misaligns slightly in high wind. A remote receiver loses sensitivity as its antenna corrodes. None of these show up when the gate is tested on a calm, dry afternoon with the technician standing next to the operator.
What to log between failures:
- Time of day. Heat-related failures cluster in the afternoon. Moisture-related failures cluster in the early morning when condensation is heaviest.
- Weather conditions. Does the failure happen only during or after rain? High humidity? Temperature extremes? Gates in Jurupa Valley deal with significant temperature swings between summer afternoons and winter mornings, and those swings reveal marginal components.
- What happened immediately before. Did a vehicle cross the safety loop right before the failure? Was the gate opened by a remote or by the keypad? The source of the trigger can point to a specific input circuit.
- What the gate did. Did it start to open and reverse? Did it open fully but refuse to close? Did it make a sound but not move? The specific behavior matters more than the general “it broke.”
- How the problem resolved. Did it fix itself after ten minutes? After a power cycle? After you waited an hour? Self-resolving failures often point to thermal overload or moisture ingress.
We’ve diagnosed intermittent gate failures in Jurupa Valley that took three weeks to reproduce because the customer didn’t know what to track. One example: a Ghost Controls gate that failed every Thursday evening. The owner logged the failures and noticed the pattern. The neighbor’s garbage truck was parking in front of the gate every Thursday, and the truck’s body was breaking the photocell beam long enough for the operator to log a fault and lock out for a safety cycle. No repair needed. A sensor repositioning solved it permanently. But without the log, that would have been a board replacement that didn’t fix the problem.
The lesson: if your gate fails intermittently, start writing down the five data points above. Give that information to your technician. You’ll cut diagnostic time dramatically, which means a smaller labor bill and a faster fix. We ask every customer with an intermittent issue to start a simple note on their phone. In our experience, the log is what separates a one-visit repair from a three-visit mystery.
Power and Electrical Faults: What to Check First
When a gate is completely dead, the first question is always the same: is power reaching the control board? Answering that question eliminates half the possible causes in one step. Here’s the sequence we walk through on service calls, adapted for a homeowner’s safe capabilities.
- Confirm the breaker is on. Gate operators should be on a dedicated circuit. Check your panel. Flip the breaker off and on once even if it looks fine, because a tripped breaker doesn’t always sit visibly in the off position.
- Check the outlet or disconnect switch. Plug-in operators can lose power when a GFCI trips. Push the reset button on the outlet. Hard-wired operators often have a service disconnect switch near the operator, sometimes required by local electrical code for maintenance safety.
- Look at the control board LED. No light with confirmed incoming power means the board’s transformer or the board itself has failed. A lit LED means the board is powered and the problem is downstream: a limit switch, a safety input, or a motor circuit.
- Check the operator’s fuse. Many boards have a small automotive-style or glass fuse protecting the low-voltage side. A blown fuse is a symptom as well as a cause: something downstream shorted to blow it. Replacing the fuse without finding the short often means replacing another fuse in a week.
- Test the battery backup if equipped. Some operators have a battery backup that keeps the gate working during power outages. If the battery has failed and the main power is interrupted, the gate can appear dead even though the outlet is fine. A failed battery can also prevent the board from booting properly in some systems.
Electrical faults in gate operators follow a pattern we see consistently across Jurupa Valley: the first failure is usually environmental, not component failure. Moisture in the control box, ants in the contactor, corrosion on a terminal strip, or a lightning strike nearby that took out the loop detector. The board gets blamed, but the board is often the victim. Before you order a replacement board, check the things around the board. A technician who works on boards daily will spot the difference between a failed component and a damaged environment. We carry replacement boards for LiftMaster, Linear, FAAC, and BFT operators in our service vehicles, but we don’t install one until we’ve confirmed the reason the original failed. Otherwise the new board fails the same way in a month.
If you’ve confirmed power is reaching the operator and the LED still doesn’t light, shut the breaker off and call a professional. Probing a live board with a multimeter is not a homeowner task, and the incoming voltage on most gate operators is enough to kill. State that plainly: 120V across the chest is fatal. Don’t work on a live board. Don’t bypass a breaker. Don’t defeat a GFCI to “test” the gate. Those are the mistakes that turn a gate repair into an emergency room visit.
Mechanical Obstruction Faults: Hinges, Wheels, and Tracks
Mechanical failures announce themselves differently than electrical ones. You’ll hear the operator strain. You’ll see the gate bind, jerk, or stop at the same spot. You’ll notice wear patterns: a dragging corner, a chipped concrete edge, a hinge that squeals. Mechanical problems are the most visible and often the most neglected, because a gate that still opens despite a worn wheel or a sagging hinge gets left alone until the operator burns itself out trying to push through the added friction.
Slide gates: The most common mechanical fault is a gate off its guide wheels or rollers, followed by a bent or obstructed track. Slide gates run on wheels that wear down over time. When a wheel fails, the gate drops slightly and starts dragging on the track or the ground. The operator’s current draw increases, the motor runs hotter, and eventually the thermal overload trips or the gearbox strips. The fix is a wheel replacement and realignment, not a motor replacement. But if the dragging goes unaddressed for months, the motor is what fails first.
Swing gates: The most common mechanical fault is hinge wear leading to gate sag. A sagging swing gate binds at the latch post or drags at the opening edge. The operator pushes against that bind on every cycle. Over time, the gearbox wears and the limit settings drift because the gate’s travel path has changed. The repair order matters here: fix the hinge and re-hang the gate before touching the operator settings. If you adjust the limits on a sagging gate, you’re calibrating to a mechanical fault, and you’ll need to redo it after the hinge is repaired.
Cantilever gates: These gates carry their weight on rollers inside a frame, with no ground track through the opening. When a roller bearing fails, the gate sags or shifts laterally. The repair requires lifting the gate and replacing the roller assembly, which is a two-person job with lifting equipment on larger gates. Not a homeowner project.
Other mechanical issues we see regularly in Jurupa Valley include rusted hinge pins on older steel gates, cracked welds at the gate frame joints, missing bolts on gate brackets, and debris wedged in the track from wind or landscaping activity. The Santa Ana winds push branches and trash into slide gate tracks. Landscape irrigation overspray accelerates rust on steel hardware. These are local conditions, not generic gate problems, and they mean Jurupa Valley gates need slightly different maintenance attention than gates in coastal cities.
The mechanical obstruction test is simple: pull the manual release and push the gate by hand. It should move smoothly through its full travel with consistent, light resistance. If it doesn’t, you’ve found the general area of the problem. Feel for the bind, look for the sag, listen for the grind. Then decide: a wheel or hinge replacement is a skilled mechanical job, but it doesn’t require electrical expertise. A gate specialist will handle both, because the operator will need recalibration after the mechanical repair is done. From the motor to the hinge, the system has to work as one unit. We approach every mechanical repair this way: fix the physical first, then recalibrate the electrical, then verify full travel and safety functions before we leave.
Logic and Programming Faults: Remotes, Keypads, and Settings
Logic faults are the category that confuses homeowners the most because the gate looks fine. Nothing is visibly broken. The gate moves freely by hand. The operator has power. But the system behaves incorrectly: the gate doesn’t respond to a remote that worked yesterday, the keypad flashes an error, or the gate opens but won’t close. These are programming and signal issues, and they have their own diagnostic logic.
Remote programming faults. A single remote stops working while the others function. The fix is re-pairing that remote to the receiver, which on most LiftMaster and Linear operators takes thirty seconds with the learn button. If the remote programs but loses its code repeatedly, the remote’s internal battery contacts may be failing, or the receiver module on the board is degrading. If all remotes lose range, the receiver antenna may be damaged or the board’s receiver circuit is failing. In Jurupa Valley, we see antenna problems on gates with metal enclosures or gates installed in low spots where the radio signal gets blocked by grade changes.
Keypad faults. A keypad that accepts the code but doesn’t trigger the operator is either programmed incorrectly to the receiver or wired to the wrong input on the board. A keypad that flashes but doesn’t accept input may have a failed membrane switch or water ingress. Keypads live outside and take weather directly. The ones in Jurupa Valley deal with summer sun that degrades the plastic face and winter condensation that corrodes the internal contacts. If the keypad is more than five years old and behaving erratically, replacement is usually more cost-effective than repair.
Limit setting faults. A gate that opens fully but closes partially, or stops short in one direction, or slams at the end of travel, has limit settings that are drifting or have been corrupted. On operators with electromechanical limit cams, the cams can loosen and rotate out of position. On newer operators with magnetic or encoder-based limits, a power surge can reset the learned travel. The fix is a limit relearn procedure, which varies by brand. BFT and FAAC use different setup sequences than LiftMaster and Linear. The procedure is documented in the install manual, but running it incorrectly can cause the gate to overshoot its travel and damage the operator or the gate itself. This is a task we recommend handing to a professional unless you have the manual and a willingness to read it carefully.
Force setting faults. Every automatic gate has a force adjustment that controls how hard the operator pushes before the obstruction sensor trips. A gate that reverses too easily, failing to close against mild wind, has the force set too low. A gate that keeps pushing after contacting an obstruction, which is dangerous and illegal on a properly configured system, has the force set too high or a failed obstruction sensor. Force settings are a safety calibration, not a convenience setting. We adjust them on every installation and most repair visits, and we always verify the obstruction reverse function before we leave. A gate that doesn’t reverse on contact can kill a child or a pet. That’s not an exaggeration. That’s the reason the safety standards exist.
How to Communicate a Gate Problem to a Technician
When you call a gate repair company, the first words out of your mouth set the direction of the entire service call. “My gate is broken” gives the technician nothing. “My LiftMaster slide gate hums but won’t move, and the LED blinks three times” gives the technician a diagnosis before they’ve left the shop. Here’s how to describe a gate problem in terms that cut service time and prevent wrong parts.
- State the brand and type of gate. “LiftMaster slide gate” or “FAAC swing gate” or “Ghost Controls single swing.” Brand matters because each manufacturer uses different fault codes, different setup sequences, and different common failure points. A technician who works on Gates for a living will hear the brand and immediately narrow the likely causes.
- Describe the exact symptom. Not “it stopped working.” Say “the gate starts to open, moves about six inches, then reverses and stops.” Or “the gate opens fully but won’t close unless I hold the remote button down.” The specific behavior identifies the subsystem involved: limit, force, safety input, or motor.
- Report the LED pattern. If you can see the control board, count the blinks. “The LED is blinking twice, then pausing, then blinking twice again.” That’s a specific fault code that may identify the problem instantly.
- Note when it started and what changed. “It started after the last rainstorm.” “It started after a power outage.” “It started after the neighbor backed into the gate.” Context points to cause, and cause prevents wasted diagnostic time.
- Mention anything you’ve already tried. Be honest. “I replaced the remote battery.” “I cleaned the photo eye lenses.” “I flipped the breaker.” Knowing what’s been ruled out is as valuable as knowing what hasn’t. And admitting you opened the control box and touched something helps the technician know where to look first.
We’d rather get a two-minute phone call with all five of those data points than a text that says “gate broken can u come.” The first call dispatches one truck with the right part. The second dispatches a truck that arrives expecting to diagnose from zero, which means a lower chance of same-visit resolution. Every time a customer in Jurupa Valley gives us specific symptoms and the LED pattern, our first-trip fix rate goes up significantly. Diagnose first, quote before we start. That process works best when the diagnosis starts with you.
Common Mistakes to Avoid
- Ignoring the LED fault code and guessing. The board is telling you what’s wrong. Replacing parts based on symptoms alone without reading the code is how $900 board replacements happen when the actual problem was a $40 safety sensor out of alignment.
- Adjusting limit or force settings without understanding them. Limit and force settings are safety calibrations, not performance knobs. Changing them to force the gate to work harder against an obstruction will damage the operator and potentially create a safety hazard. A gate that needs force increases to move is a gate with a mechanical problem that needs repair.
- Replacing the remote before checking the receiver. If every remote loses range or stops working, the remote isn’t the problem. The receiver, antenna, or board is. New remotes won’t fix a failed receiver.
- Working on a live control board without disconnecting power. This is the one mistake that can kill you. Always shut off the breaker before opening the control box, and if you’re not sure the power is off, don’t touch anything.
- Lubricating the track or wheels instead of replacing worn parts. Grease on a slide gate track attracts dust and grit, which accelerates wear on wheels and rollers. Lubrication hides the symptom but not the cause. If a wheel is worn, replace the wheel.
- Waiting until a minor problem becomes a major one. A dragging gate, a squealing hinge, or a remote that works intermittently won’t heal itself. The operator is wearing out faster with every cycle, and when it fails, the repair bill includes the damage from months of neglect, not just the original fault.
- Assuming a new board will fix an electrical problem without finding the cause. Boards fail for reasons: moisture, shorts, power surges, or a failing motor drawing too much current. Replace the board without fixing the cause and the new board fails too.
See the difference
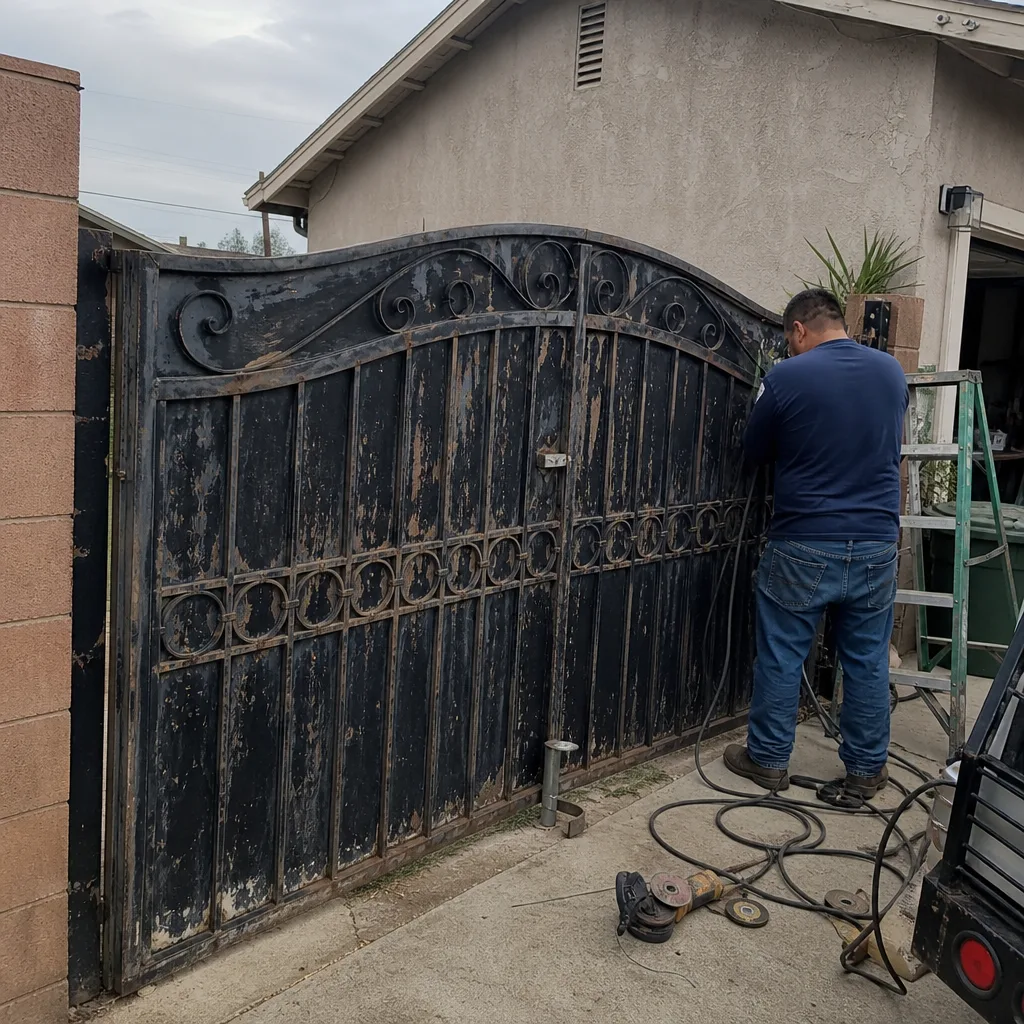 Before
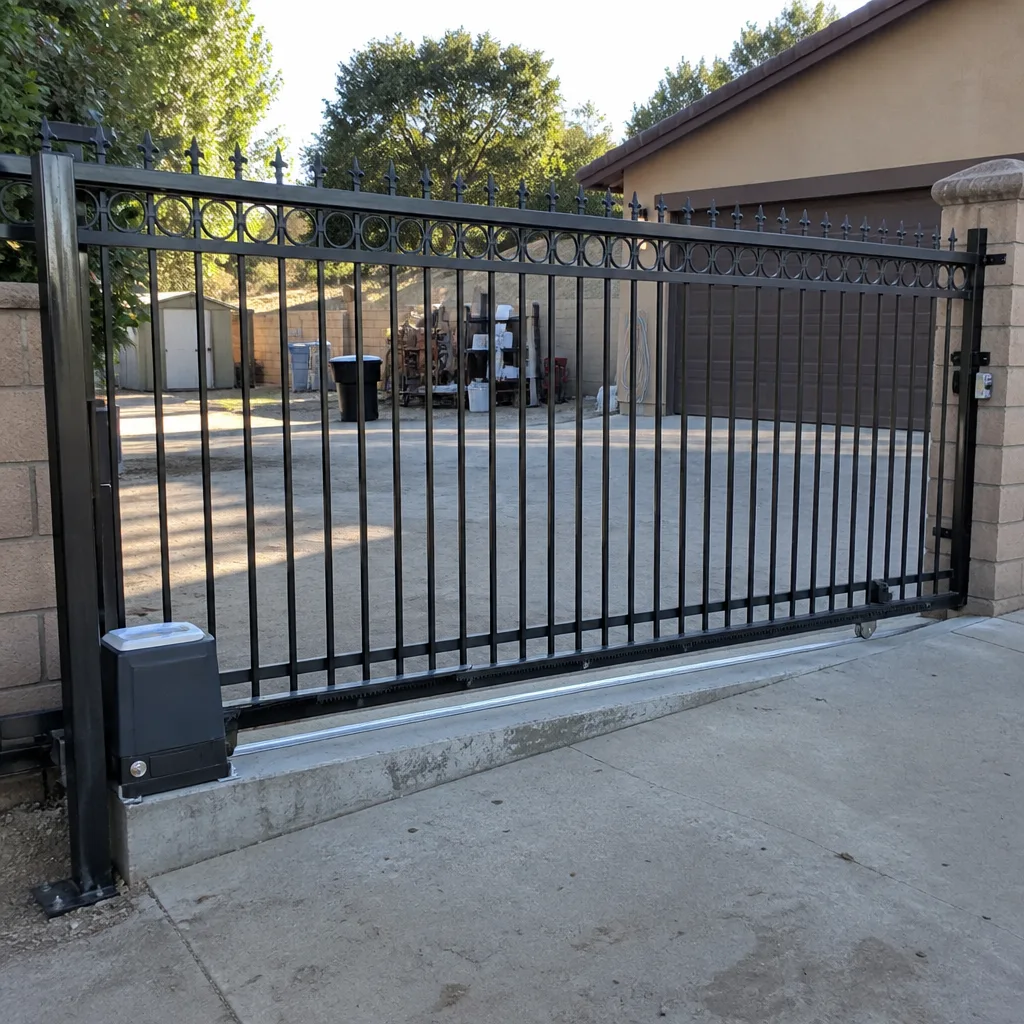 After
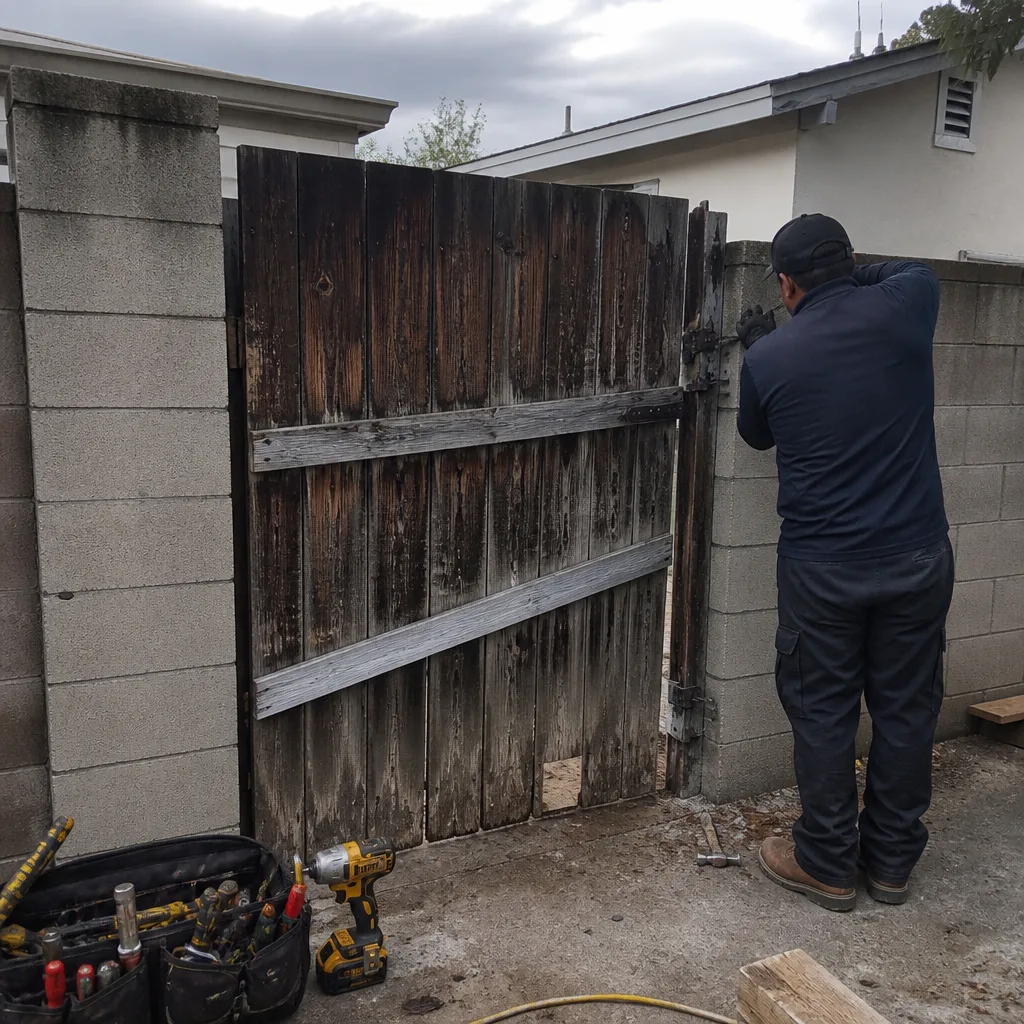 Before
 After
 Before
 After
When to Call a Professional
Call a gate specialist when the problem involves anything inside the control box beyond visual inspection, when the gate has stopped responding to all inputs and the breaker is confirmed on, when a mechanical component like a hinge or wheel has failed, or when the gate doesn’t reverse after contacting an obstruction. Also call if you’ve tried the safe homeowner tests and the problem persists, or if your gate uses a brand you can’t identify. The cost of a professional diagnosis is almost always less than the cost of guessing wrong and replacing a functional component while the actual fault remains. Gate Installation in Jurupa Valley and repair work start with a diagnostic visit. We quote the price before any work starts, and the estimate is free. If you’re in Jurupa Valley, call (866) 383-9857 to schedule.
Frequently Asked Questions
A gate that opens fine but refuses to close is almost always seeing a constant obstruction signal from a safety device: a misaligned photo eye, a failed safety edge, or a loop detector that’s latched. The operator’s logic board is doing what it’s designed to do: refusing to close when it believes something is in the path. Check the photo eyes first, then look at the safety edge if your gate has one. If both are clean and aligned, the loop detector or the board’s safety input may have failed.
Gate repair costs in Jurupa Valley typically range from $150 to $400 for common fixes like sensor realignment, limit adjustment, or remote reprogramming, and $500 to $1,200 for board replacement, motor repair, or hinge and wheel work. The exact price depends on the operator brand, the part required, and the access conditions at your property. Call (866) 383-9857 for a free estimate with the price quoted before we start any work.
Most modern operators reset automatically when power returns, but some older models need a manual reset sequence or a limit relearn after a full power loss. Check your operator’s manual for a “learn” or “setup” sequence. If the gate opens but loses its travel limits after an outage, the board’s memory battery or EEPROM may be failing, and a professional inspection is the right next step.
Intermittent remote failure is usually a receiver issue, not a remote issue. Antenna corrosion, a degrading receiver module, or interference from nearby electronic devices can cause the operator to miss remote signals. If multiple remotes show the same intermittent behavior, the receiver circuit on the board is the likely culprit. If only one remote fails, replace its battery and re-pair it before assuming anything more serious.
A quality operator like a LiftMaster, FAAC, or BFT should last 10 to 15 years in Jurupa Valley with regular maintenance, but the desert-adjacent heat and wind-blown dust shorten the life of capacitors, plastic gears, and exposed sensors. Components like photo eyes and keypads often need replacement before the operator itself fails. Regular cleaning of sensors and lubrication of mechanical pivot points extends system life.
We work on nine major gate operator brands: LiftMaster, FAAC, BFT, Linear, Viking, Ghost Controls, DoorKing, Elite, and Mighty Mule. That covers everything from light residential operators to commercial and estate-class systems. If your operator isn’t on that list, call us anyway; we’ll identify it and let you know honestly whether it’s one we can service. Visit our Gate Repair Jurupa Valley home page to learn more about our brand coverage.
The Bottom Line
Gate troubleshooting works best when you treat the operator as a diagnostic device, not a black box. Read the LED codes. Run the manual release test. Log intermittent failures with time, weather, and trigger details. Separate power faults from mechanical faults from programming faults before anyone picks up a tool. And when the problem is beyond the homeowner-safe tests, call a specialist who knows your brand from the first sentence of your description. In Jurupa Valley, that means calling (866) 383-9857. For more guides & resources, explore our blog. Diagnose first, quote before we start, and we’ll explain what we found and what it costs before any work begins.
Written by the team at Gate Repair Jurupa Valley, serving Jurupa Valley since 2015.