
Last updated November 2, 2026
 Wrought iron
 Wood & steel frame
 Farm & ranch
 Sliding driveway gates
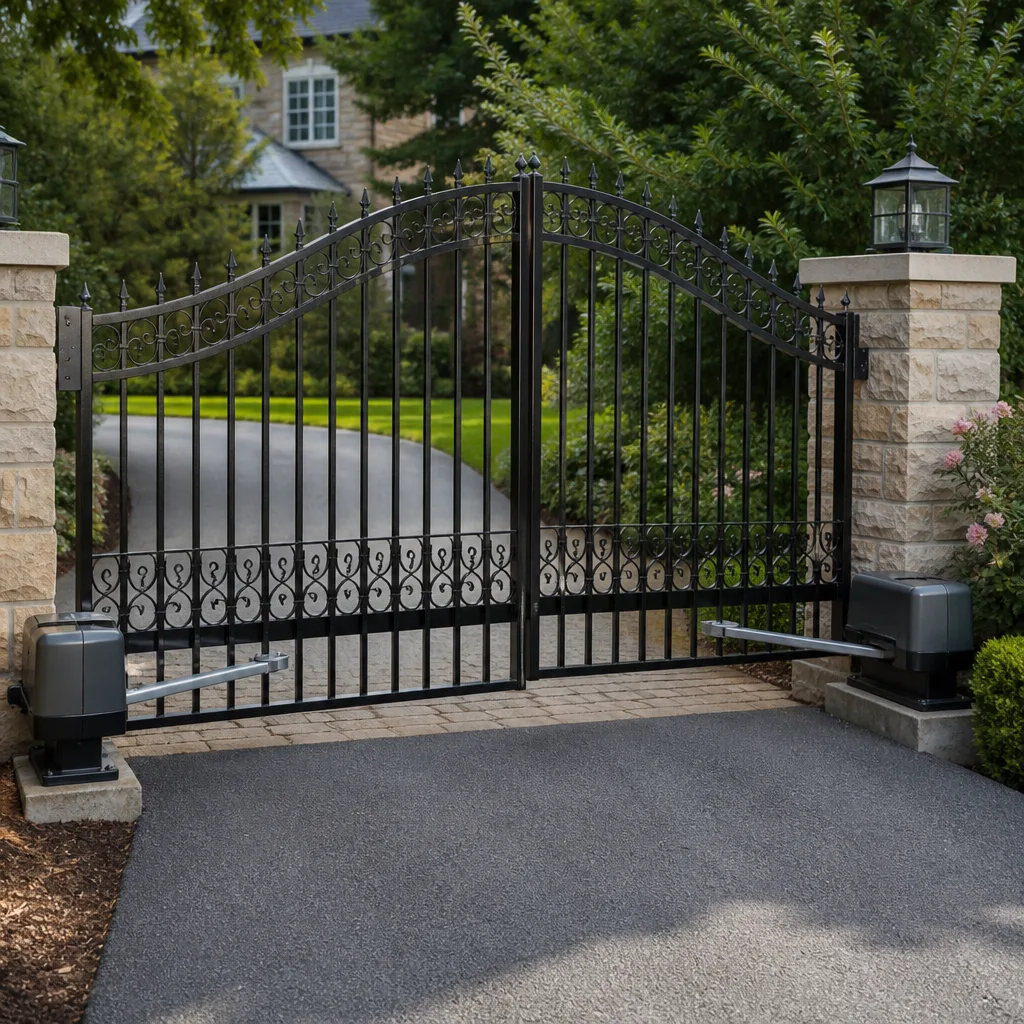 LiftMaster operators
Free on-site gate assessment - hinges, posts, and your LiftMaster or Nice gate operator checked before anything is quoted
The assessment is free and the quote is the invoice.
Get your free estimateDIY vs Professional Gate Repair: The Jurupa Valley Homeowner’s Decision Guide
Here’s a counterintuitive fact from years of working on gates in Jurupa Valley: the homeowners who save the most money on gate repair aren’t the ones who attempt the most DIY fixes. They’re the ones who correctly identify which tasks are safe to handle themselves and which ones will cost double when a professional has to undo the damage. This guide maps that boundary precisely. You’ll learn which gate repairs are legitimately owner-appropriate, which ones carry hidden liability risks most Jurupa Valley homeowners never consider until an insurance adjuster asks questions, and how to diagnose whether your problem is mechanical or electrical before you touch a single bolt.
Styles & brands we work with
- Wrought iron
- Wood & steel frame
- Farm & ranch
- Sliding driveway gates
- LiftMaster operators
Quick Answer
DIY gate repair in Jurupa Valley makes sense for mechanical maintenance tasks like lubrication, cleaning sensor lenses, tightening visible hardware, and replacing remote batteries. Professional repair is non-negotiable for electric gate operator issues, force sensitivity adjustments, safety edge replacement, circuit board diagnostics, and any repair on a gate covered by UL 325 safety standards. The dividing line isn’t your skill level, it’s the type of failure: mechanical parts you can see are DIY territory, electrical and safety systems you can’t see are professional territory.
Table of Contents
- What You Can Safely Fix Yourself: The Owner-Appropriate Task List
- Tasks That Look Simple But Carry Real Risk
- UL 325 Compliance: Why Your Insurance and HOA Care About DIY Gate Work
- Mechanical vs Electrical: How to Diagnose Your Gate Problem Accurately
- The Real Cost Comparison: DIY Parts vs Professional Repair in Jurupa Valley
- Jurupa Valley Climate Factors That Change the DIY Equation
- Step-by-Step Diagnosis Before You Decide
- Common Mistakes to Avoid
- When to Call a Professional
- Frequently Asked Questions
- The Bottom Line
What You Can Safely Fix Yourself: The Owner-Appropriate Task List
Let’s start with the tasks we tell Jurupa Valley homeowners to absolutely go ahead and handle. These are maintenance items with no electrical hazard, no safety-system involvement, and no way to make the gate less safe by doing them correctly. They’re also the tasks that prevent most of the repair calls we get in the first place.
Here’s the complete list of gate tasks that are genuinely DIY-appropriate for any homeowner in Jurupa Valley:
- Lubricating hinges and rollers: Use a silicone-based lubricant (not WD-40, which attracts dust and grit from Jurupa Valley’s dry, windy conditions). Apply to hinge pins, roller tracks, and the operator arm pivot points every 4 to 6 months.
- Replacing remote control batteries: If your gate opener works from the keypad but not the remote, the battery is the first thing to check. Most remotes take standard 9-volt or 23A 12-volt batteries available at any hardware store.
- Intercom wiring at the keypad end: If your intercom or keypad stopped working completely, check the wiring at the keypad itself. Loose spade connectors and corroded wire ends account for a surprising number of “dead” systems. This is low-voltage wiring, safe to handle.
- Cleaning photo-eye sensor lenses: Dirty sensor lenses are the number one cause of gates that won’t close all the way. A soft cloth and mild glass cleaner restore function in about 30 seconds.
- Tightening visible hardware: Gate hinges, latch plates, and operator mounting bolts all work loose over time, especially with the temperature swings Jurupa Valley sees between summer days and winter nights. A socket set and 15 minutes prevents bigger failures.
- Clearing debris from the gate track: For sliding gates, rocks, dirt, and plant debris accumulate in the track and cause jerky operation. Clearing it out requires zero technical knowledge.
None of these tasks void a warranty, compromise UL 325 compliance, or touch anything electrical beyond a 12-volt battery swap. They’re maintenance, not repair. If what you’re doing is on this list, go do it.
And if you’ve been maintaining your gate this way and it still isn’t working right, that’s when diagnostic help matters. We offer Gate Repair in Jurupa Valley with the specific goal of telling you exactly what’s wrong before you pay for a fix.
Tasks That Look Simple But Carry Real Risk
Now for the uncomfortable part. There’s a set of gate repairs that look almost identical in difficulty to the safe list above, but carry risk that current DIY culture doesn’t talk about. These are the tasks where a homeowner’s YouTube confidence and a professional’s actual training produce very different outcomes.
Adjusting the open-limit stop. This looks simple. You loosen a nut, move a stop, tighten it back. The risk is subtle: an incorrectly set open-limit causes the gate operator to keep pushing after the gate reaches full open, which strains the motor, bends the operator arm, and eventually cracks the mounting plate. We’ve replaced operator arms in Jurupa Valley where the root cause was a limit-stop “adjusted” by someone who didn’t know how much pre-load was correct for that specific motor.
Adjusting obstruction force sensitivity. This is the one we warn against most strongly. The force sensitivity dial or setting controls how much resistance the gate must encounter before it reverses. Set it too sensitive and the gate won’t close on windy days. Set it too aggressive and the gate will push through a child, a dog, or a parked car before reversing. This setting exists specifically to satisfy UL 325 entrapment protection requirements. When you adjust it without the proper force gauge, you’re modifying a safety system blind. If the gate later injures someone, the investigation will find your adjustment.
Safety edge replacement. The safety edge is the rubber strip on the leading edge of your gate that tells the operator to reverse when it contacts anything solid. Replacing one means matching the edge’s electrical resistance to what the control board expects, then testing it under actual closing force. A safety edge installed without proper termination to the control board looks fine and does nothing. We’ve seen gates in Jurupa Valley where the safety edge was completely inoperative and the owner had no idea until we tested it.
Operator control board diagnostics. If you’ve opened your operator’s plastic housing and looked at the circuit board, you may have noticed terminals labeled things like REV LOOP, EXIT LOOP, EDGE, and COM. What the labels don’t tell you is what voltage should be present on each terminal set, what resistance range the safety edge expects, and what blinking LED pattern indicates which fault. Diagnosing a control board by swapping it out is a $400 to $900 guess. Diagnosing it with a multimeter and brand-specific knowledge is a $150 repair.
If you have a FAAC, BFT, Linear, or Viking operator, these adjustments are brand-specific. The force adjustment on a FAAC doesn’t work like the force adjustment on a Linear. That’s why our technicians work on your specific brand rather than approaching every gate as if it’s the same machine. It’s the difference between a specialist and a generalist, and it matters most on exactly these hidden-risk tasks.
UL 325 Compliance: Why Your Insurance and HOA Care About DIY Gate Work
Here’s the section most DIY guides skip entirely, and it’s the one that matters most if something ever goes wrong. Let’s talk about UL 325.
UL 325 is the safety standard that governs automatic gate operators in the United States. It covers entrapment protection requirements, sensor placement, force limits, and the testing procedures that operators must pass before they’re considered safe for residential or commercial use. Every automatic gate operator sold in the US is tested and listed to UL 325. The listing applies to the system as installed, not just the motor in isolation.
Here’s what that means for DIY work in plain language:
- Your gate operator’s UL 325 listing is tied to its installation and configuration. When a homeowner replaces an operator themselves or modifies the force settings, the original listing no longer applies because the system hasn’t been verified to standard.
- Your homeowner’s insurance policy likely requires that automated gates meet UL 325. Most policies have a general safety-compliance clause. If someone is injured by your gate and the investigation shows the operator was modified outside of professional installation, insurers use that to deny coverage.
- Many HOAs in Jurupa Valley require professional installation of new gate operators and professional modification of existing ones. This is especially common in gated communities and newer developments. The HOA isn’t being difficult. They’re protecting themselves from liability, because if a resident’s gate injures someone, the HOA’s insurance is often named in the lawsuit too.
We’re not saying every DIY gate repair voids your insurance. We are saying that any DIY work on the operator, which is the motor and control system that drives the gate, creates a documentation gap. If there’s ever an injury claim, you won’t be able to show that the gate met UL 325 at the time of the incident. The professional invoice you didn’t want to pay is suddenly the document you wish you had.
This is a core reason why Electric Gate Repair in Jurupa Valley is structured around competence and documentation, not just a quick fix. Every repair leaves the gate in a state a safety inspector can verify.
Mechanical vs Electrical: How to Diagnose Your Gate Problem Accurately
Before you decide between DIY and professional, you need to know which category your problem falls into. Gate failures split cleanly into mechanical problems and electrical or programming problems. Getting this diagnosis right is worth more than any repair skill.
Mechanical problems are physical: broken hinges, bent operator arms, seized rollers, cracked welds, sagging gates. You can see them. You can touch them. A gate that’s visibly leaning, has a broken wheel, or makes grinding noises when moving manually is having a mechanical failure. These are the failures where a competent homeowner with the right tools can sometimes make a legitimate repair.
Electrical problems are invisible: a blown capacitor on the control board, a failed limit switch inside the operator housing, a corroded wiring connection in conduit underground, a control board that’s lost its programming. The gate may look visually perfect. It just doesn’t respond, or responds intermittently, or starts and stops at the wrong points. Electrical failures require diagnostic equipment and brand-specific knowledge to identify accurately.
Here’s the diagnostic process we use, simplified for homeowner use:
- Disconnect the operator from the gate and push the gate manually. Does it move smoothly? If yes, your problem is probably electrical or operator-related. If the gate is stiff, grinding, or won’t move, your problem is mechanical.
- Check for power at the operator. Is the operator’s LED or display lit? Test the outlet with something you know works. A tripped GFCI is the single most common “dead gate” cause we find in Jurupa Valley homes.
- Listen when you press the remote. Do you hear a click from the operator? If you hear a click and the gate doesn’t move, you likely have a capacitor or motor problem. If you hear nothing, the problem is likely the control board, the receiver, or the remote itself.
- Try the wall station or keypad instead of the remote. If the gate works from the wall station but not the remote, the receiver or remote is the issue. If nothing works from any input, the problem is in the operator unit itself.
- Check the photo eyes. If the gate closes partway and reverses, or won’t close at all, check the sensor alignment and cleanliness. Misaligned or dirty photo eyes account for more no-close calls than any other single cause.
If your problem falls in the mechanical category and you have the tools and physical ability, you might be able to handle it. If it’s electrical, the honest answer is that almost no homeowner should attempt it, not because they lack intelligence but because they lack the diagnostic equipment and brand-specific wiring knowledge that makes electrical diagnosis possible.
That’s the niche we live in. Every truck, every tool, and every training hour at Gate Repair Jurupa Valley is dedicated to gates. We don’t split our attention across plumbing calls or HVAC installs. When we arrive at a gate, we’re looking at it with equipment and experience specific to that job.
The Real Cost Comparison: DIY Parts vs Professional Repair in Jurupa Valley
Let’s talk about what DIY gate repair actually costs in Jurupa Valley, because the numbers people use to justify DIY attempts are usually wrong in one consistent way: they compare retail parts cost to professional invoice cost without accounting for what the professional invoice includes.
Here’s a realistic cost breakdown for common gate repairs:
Common Gate Repair Cost Ranges in Jurupa Valley
| Repair Type | DIY Parts Cost | Professional Cost (Parts + Labor) | What the Professional Cost Includes |
|---|---|---|---|
| Remote control replacement | $15 – $60 | $50 – $120 | Programming to your receiver, verification |
| Hinge replacement set | $25 – $80 | $150 – $350 | Gate realignment, proper weight distribution |
| Photo eye replacement | $35 – $90 | $120 – $280 | Alignment, wiring, UL 325 compliance check |
| Safety edge replacement | $40 – $110 | $180 – $400 | Resistance matching, termination, force testing |
| Circuit board replacement | $150 – $400 | $350 – $900 | Correct diagnosis, programming, system verification |
| Complete operator replacement | $400 – $1,200 | $900 – $3,000 | UL 325-compliant installation, safety testing, warranty |
The DIY parts prices above are retail from big-box or online suppliers. They represent what you’d pay if you knew exactly which part was bad. The professional prices include something most DIY calculations leave out: the diagnosis. When a professional replaces a circuit board, you’re not paying $350 for the board. You’re paying for the diagnostic work that identified the board as the failure point, not the transformer, not the capacitor, not a wiring issue. In our experience, homeowners who buy parts before diagnosis are wrong about which part they needed roughly half the time.
And then there’s the failed-DIY-attempt tax. This is the surcharge you pay when a professional arrives after a DIY attempt didn’t work. We regularly encounter gates in Jurupa Valley where the control board has been swapped and the original board was likely fine. The homeowner spent $200 on a board, the gate still didn’t work, and now the professional has to diagnose the original problem plus untangle whatever wiring was disturbed during the swap. The bill ends up higher than if the professional had been called first.
The financial math on DIY gate repair works like this: DIY wins when you’re sure of the problem and the problem is on the safe list. DIY loses when you’re guessing, and loses badly when the guess involves electrical or safety systems. The price of a wrong guess can double or triple the eventual professional repair cost.
We quote every repair before any work starts. The price you’re quoted is the price you pay. That’s the process we’ve built: diagnose first, quote before we start, no surprises on the invoice. If you want to know what a repair will cost before making a decision, call and ask. Gate Repair Jurupa Valley home provides free estimates for all repair and installation work.
Jurupa Valley Climate Factors That Change the DIY Equation
Jurupa Valley isn’t like the rest of Southern California, and the gate problems here aren’t either. The local climate creates wear patterns that most generic gate-repair advice doesn’t address.
Heat cycling. Jurupa Valley swings from cool winter nights to triple-digit summer days. Metal expands and contracts with every cycle. Over years, this thermal cycling work-hardens hinge welds, cracks operator mounting plates, and loosens electrical connections. Gates in Jurupa Valley fail differently than gates in coastal communities with narrow temperature ranges. A DIY repair that ignores thermal cycling treats the symptom, not the cause.
Dust and grit. The Santa Ana winds and the surrounding dry hillsides mean Jurupa Valley gates collect dust faster than almost anywhere else in Riverside County. Dust works its way into operator gearboxes, coats circuit boards (causing overheating), and gums up the rollers on sliding gates. In our experience, the frequency of lubrication and cleaning needed in Jurupa Valley is roughly double what manufacturer maintenance schedules suggest.
Soil movement. Parts of Jurupa Valley sit on expansive soils that shift with moisture changes. This is why gate posts in some neighborhoods lean within a few years of installation. A gate that’s suddenly hard to open may not be an operator problem at all; it may be a post that’s moved and thrown the whole weight distribution off. Diagnosing this correctly requires understanding the soil types in the specific part of Jurupa Valley where you live.
These factors matter for the DIY decision because they change the likelihood that a visible symptom says anything useful about the underlying cause. A noisy gate in Jurupa Valley might need lubrication, or the gearbox might be full of dust and grinding itself to failure. A homeowner applying lubricant to a gearbox that’s already compromised buys a few weeks, then faces a full replacement that could have been a rebuild if caught earlier. We see this pattern routinely.
Step-by-Step Diagnosis Before You Decide
Before you commit to any DIY attempt or call a professional, run your gate through this diagnostic sequence. It takes about 20 minutes and will tell you more about your gate’s problem than hours of online searching.
Step 1: Identify Your Gate Type
Is your gate a sliding gate (rolls on a track) or a swing gate (hinged and opens inward or outward)? Sliding gate problems are usually in the track, rollers, chain, or gearbox. Swing gate problems are usually in the hinges, operator arm, or the operator’s internal gearset. Swapping the troubleshooting logic between gate types wastes time.
Step 2: Identify Your Operator Brand
Find the model plate on your operator unit. The brand matters more than you think. A FAAC operator and a Linear operator fail differently, use different control-board logic, and have different diagnostic LED sequences. Knowing your brand makes professional diagnosis faster and more accurate. It also tells you whether replacement parts are readily available or whether you may be looking at a full operator replacement. We work on all the major brands installed in Jurupa Valley, including FAAC, BFT, Linear, and Viking.
Step 3: Define the Exact Symptom
Write down what the gate does and doesn’t do, specifically. “The gate doesn’t work” is useless. “The gate opens from the remote but stops six inches short of full open and reverses” is a diagnosable symptom. The more precise your description, the better a professional can estimate the problem over the phone, and the better you can assess whether the issue is in the safe-DIY category.
Step 4: Disconnect and Test Manually
Most operators have a manual release handle or key. Disconnect the operator and try moving the gate by hand. A gate that moves smoothly and easily in manual mode tells you the problem is in the operator or electrical system. A gate that’s stiff, binds, or scrapes in manual mode tells you the problem is mechanical. This single test narrows the possibilities dramatically and is the most valuable diagnostic step a homeowner can take.
Step 5: Check the Obvious Electrical Issues
Confirm the operator has power. Reset any tripped GFCI outlets. Check for a blown fuse in the operator (most have a visible fuse near the power supply). Inspect the photo eyes for alignment and cleanliness. Replace the remote battery even if you think it’s fine. More than a third of the gate problems we’re called about in Jurupa Valley are resolved by one of these five checks before the technician even arrives.
Step 6: Make the Call
If the diagnosis points to a mechanical issue on the safe-DIY list and you have the tools and confidence, proceed. If it points to anything electrical, anything operator-related, or anything safety-system-related, call a professional. If you’re still not sure, call and describe what you’ve found. A qualified Gate Installation in Jurupa Valley specialist can often narrow the problem down over the phone before any trip charge is even discussed.
Common Mistakes to Avoid
- Guessing on the control board. The control board is the most commonly misdiagnosed gate component. It’s also the most expensive single part in most operators. Guessing wrong on a board replacement wastes $200 to $400 and leaves the original problem untouched. Diagnose before you buy.
- Using WD-40 on gate hinges and rollers. WD-40 is a penetrant and water displacer, not a lubricant. It cleans and then evaporates, leaving metal surfaces with less protection than they had before. Jurupa Valley’s dust then accumulates on the residue and creates an abrasive paste. Use silicone or lithium grease.
- Disconnecting the safety edge without replacement. Some homeowners disconnect an intermittent safety edge to stop the gate from reversing randomly. They create an entrapment hazard that’s invisible until it’s tested by an injury. Never run an automatic gate without functional entrapment protection.
- Ignoring a slowing gate. A gate that’s moving slower than it used to is sending you a warning signal. That slowdown usually means the operator is working harder than it should be, which means something is failing. Waiting until the gate stops completely usually means the cheaper repair has become an expensive replacement.
- Forcing a gate that’s stuck. If your gate won’t move and you push it manually or keep pressing the remote to force it, you risk stripping the gearset in a sliding-gate operator or bending the arm on a swing-gate operator. A stuck gate is stuck for a reason. Identify the reason before applying force.
- Mixing brands when replacing parts. Many gate parts look interchangeable but aren’t. A safety edge rated for a Viking operator may not work correctly with a FAAC control board. Mixing brands creates incompatibilities that are hard to diagnose later. If you’re replacing parts, match the brand exactly.
- Skipping the post-repair safety test. If you do make a DIY repair, test the entrapment protection afterward. Place a solid object (a trash can works) in the gate’s path and verify the gate reverses. If it doesn’t reverse, you’ve changed something about the safety system and your gate is now an entrapment risk.
When to Call a Professional
Call a professional when your gate problem involves the operator motor, the control board, the safety edge, the force settings, the limit stops, or any wiring you can’t trace visually. Call when your gate is intermittent, because intermittent electrical failures are frequently misdiagnosed by homeowners as battery or remote problems. Call when the gate has made contact with something it shouldn’t have, because even a one-time collision can knock safety systems out of alignment. Call when you’re not sure, because the cost of a phone call is nothing and the cost of a wrong guess can be a full operator replacement.
Gate Repair Jurupa Valley offers free estimates in Jurupa Valley and surrounding communities. If you’ve read this guide and you’re still deciding, call (866) 383-9857 and describe what your gate is doing. We’ll tell you honestly whether it’s something you can handle yourself or whether a technician needs to see it. No pressure, no obligation, no trip charge for the conversation.
Frequently Asked Questions
Gate repair in Jurupa Valley typically costs between $120 and $900 depending on the component. Simple remote programming or sensor realignment runs $50 to $120, while circuit board replacement or operator rebuilds run $350 to $900. The exact price depends on your operator brand, the specific failure, and whether any parts need replacement. Call (866) 383-9857 for a free estimate on your specific gate.
The availability of same-day service depends on the current schedule. Gate Repair Jurupa Valley prioritizes emergency repairs for gates that won’t close or won’t secure, since a gate stuck open is a security problem for your entire property. Call (866) 383-9857 in the morning if possible, and we’ll tell you directly whether a same-day slot is available.
A full gate installation includes the gate itself, hinges or track system, operator unit, safety devices (photo eyes and safety edge per UL 325 requirements), control wiring, and programming. For electric gates, it includes the power run to the operator location and connection to a dedicated circuit. The Gate Installation in Jurupa Valley price is quoted upfront and includes all safety testing before the gate is put into service.
Yes. Electric gate installation in Jurupa Valley includes running power to the operator location, installing and wiring the photo eyes and safety edge, and testing the complete entrapment-protection system before the gate is commissioned. This work falls under our electric gate repair and installation scope and is never subcontracted.
Generally no, for two reasons. First, the UL 325 listing on a DIY-installed operator cannot be certified by the manufacturer, which can create insurance and HOA compliance problems. Second, the installation mistakes we see most often in Jurupa Valley, like improper force settings and misaligned photo eyes, are the exact errors that cause premature operator failure and safety hazards. The savings vanish when a professional has to correct the installation later.
Gate repair covers mechanical work: hinges, rollers, tracks, latch hardware, gate realignment, and physical gate damage. Electric gate repair covers the automated systems: operator motors, control boards, safety devices, remote systems, intercom integration, and power wiring. Electric Gate Repair in Jurupa Valley requires different training, different diagnostic equipment, and different certification than mechanical gate work. We offer both because the full gate system, from the motor to the hinge, fails as an integrated unit.
The Bottom Line
The DIY vs professional gate repair decision in Jurupa Valley comes down to risk category, not skill level. Mechanical maintenance you can see and touch is fair game for a capable homeowner. Electrical repair, safety-system adjustment, and operator work are not, because the consequences of getting them wrong aren’t limited to your gate. They extend to your insurance coverage, your HOA compliance, and the physical safety of anyone who walks near your gate. Diagnose first, be honest about which category your problem falls into, and use professional help where professional help belongs. The money you save by calling at the right time is real, and it’s usually larger than the money you save by trying to avoid the call entirely.
Written by the team at Gate Repair Jurupa Valley, serving Jurupa Valley since 2015.
See the difference
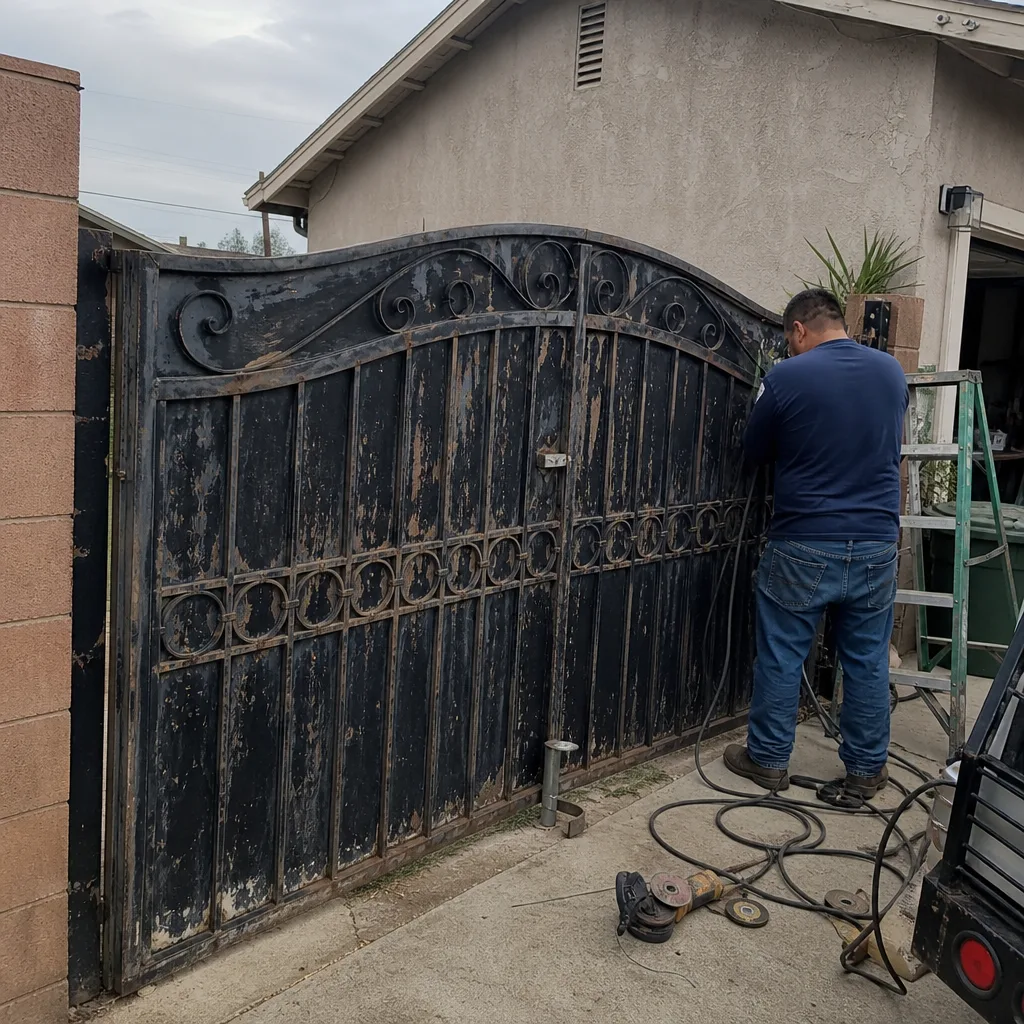 Before
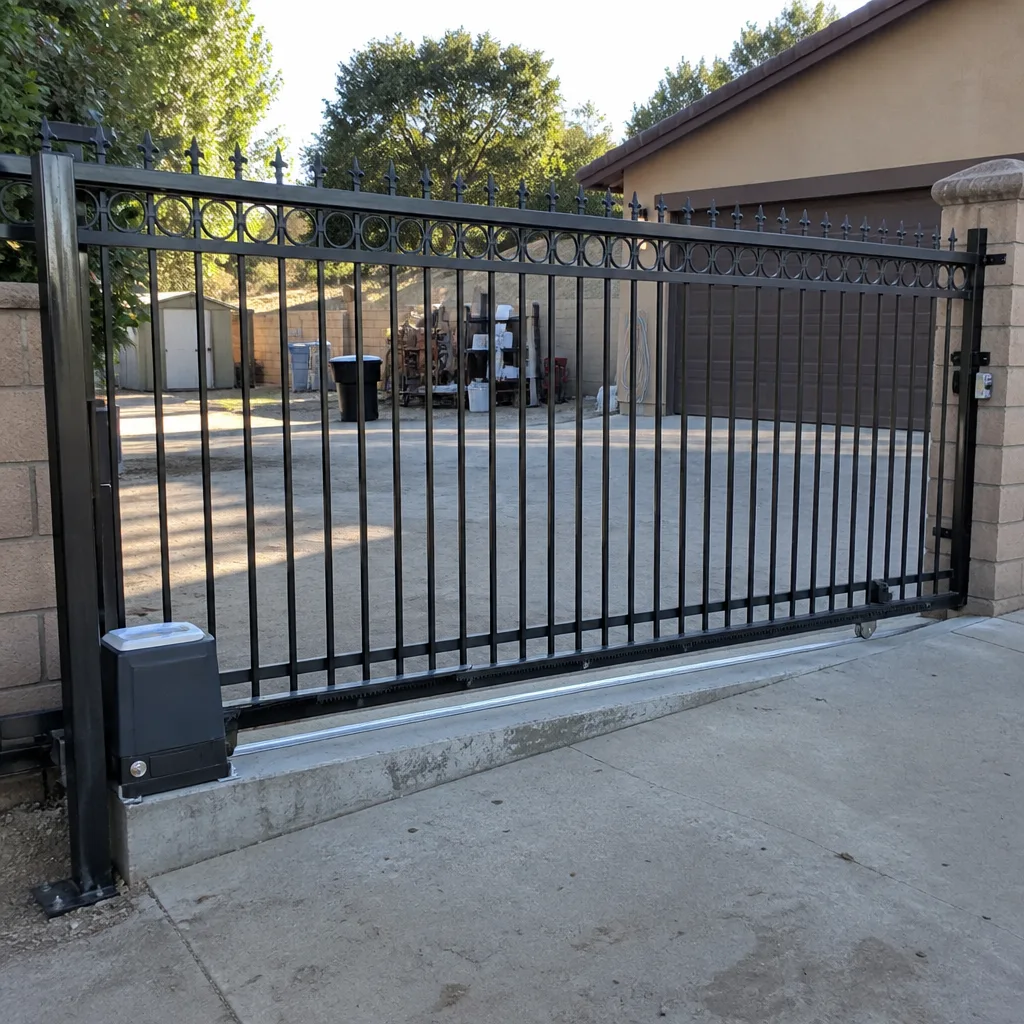 After
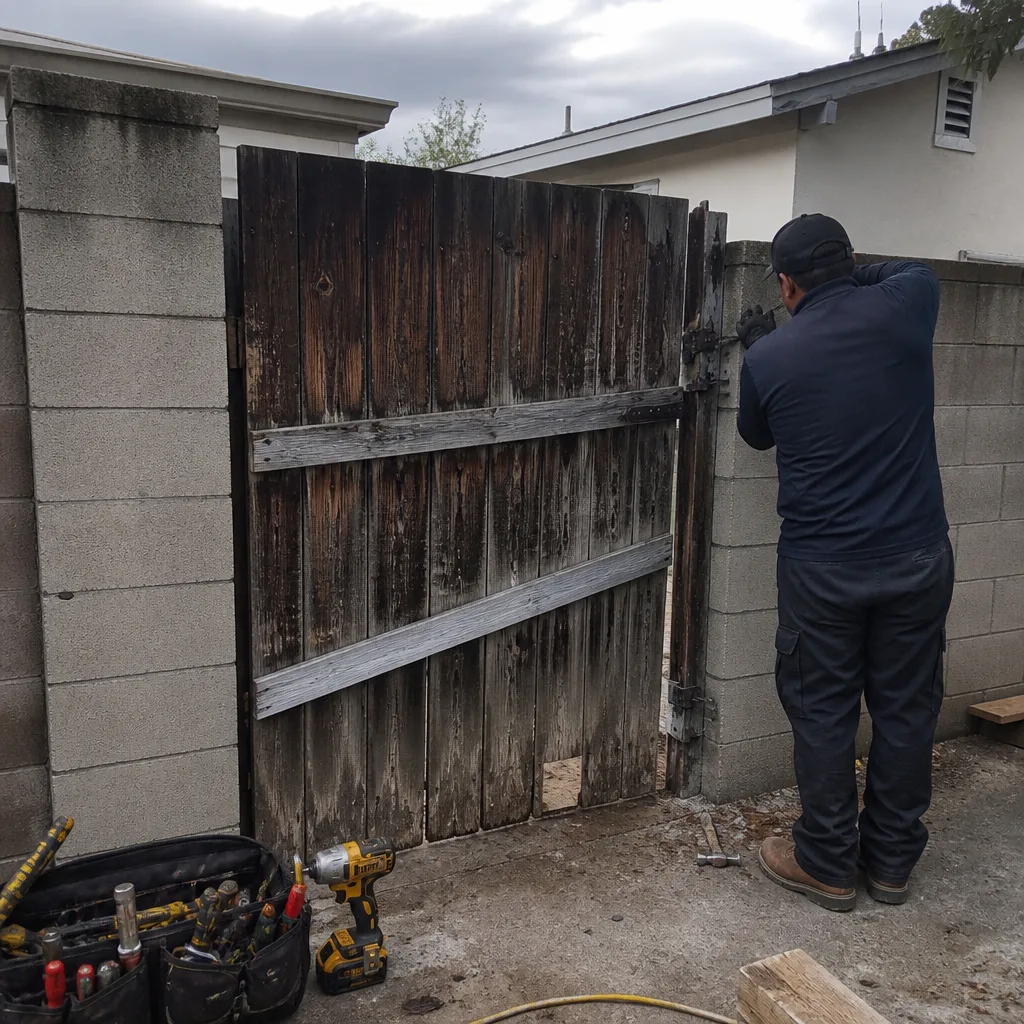 Before
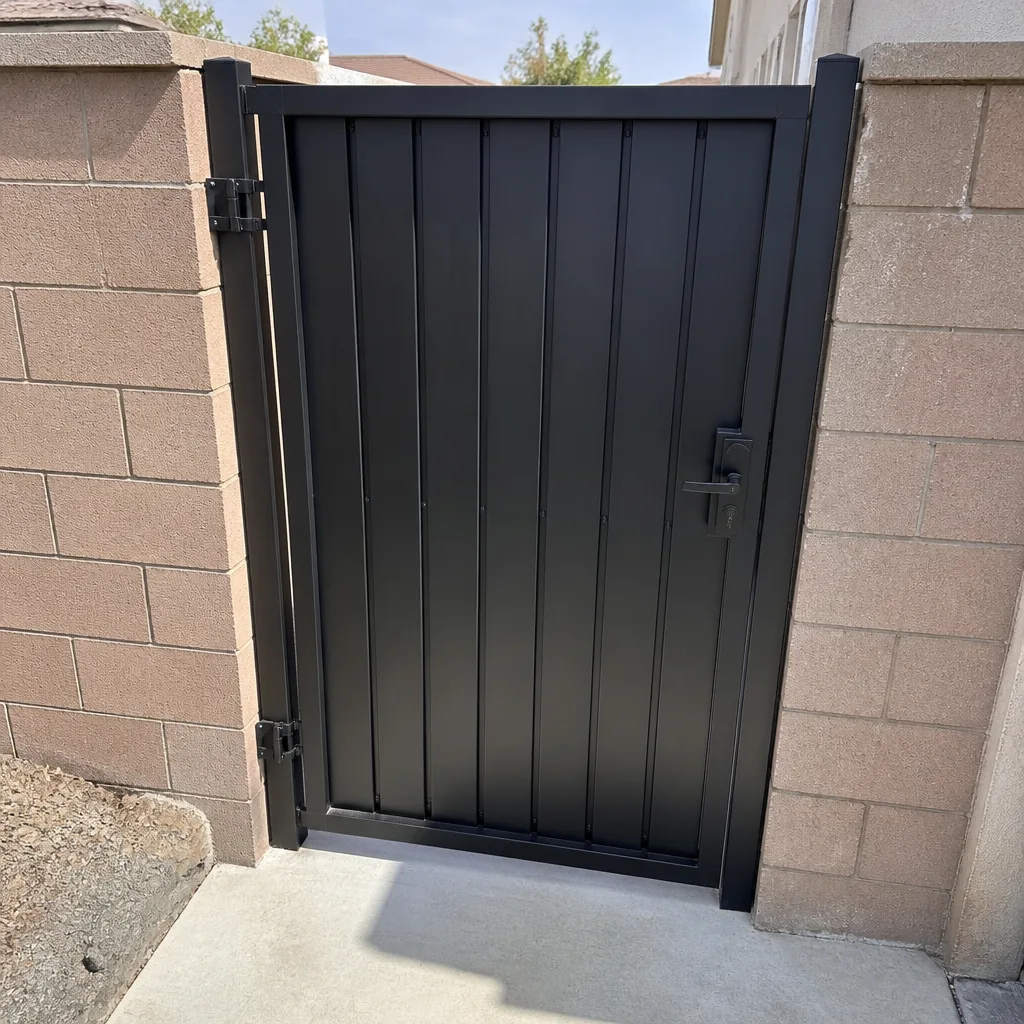 After
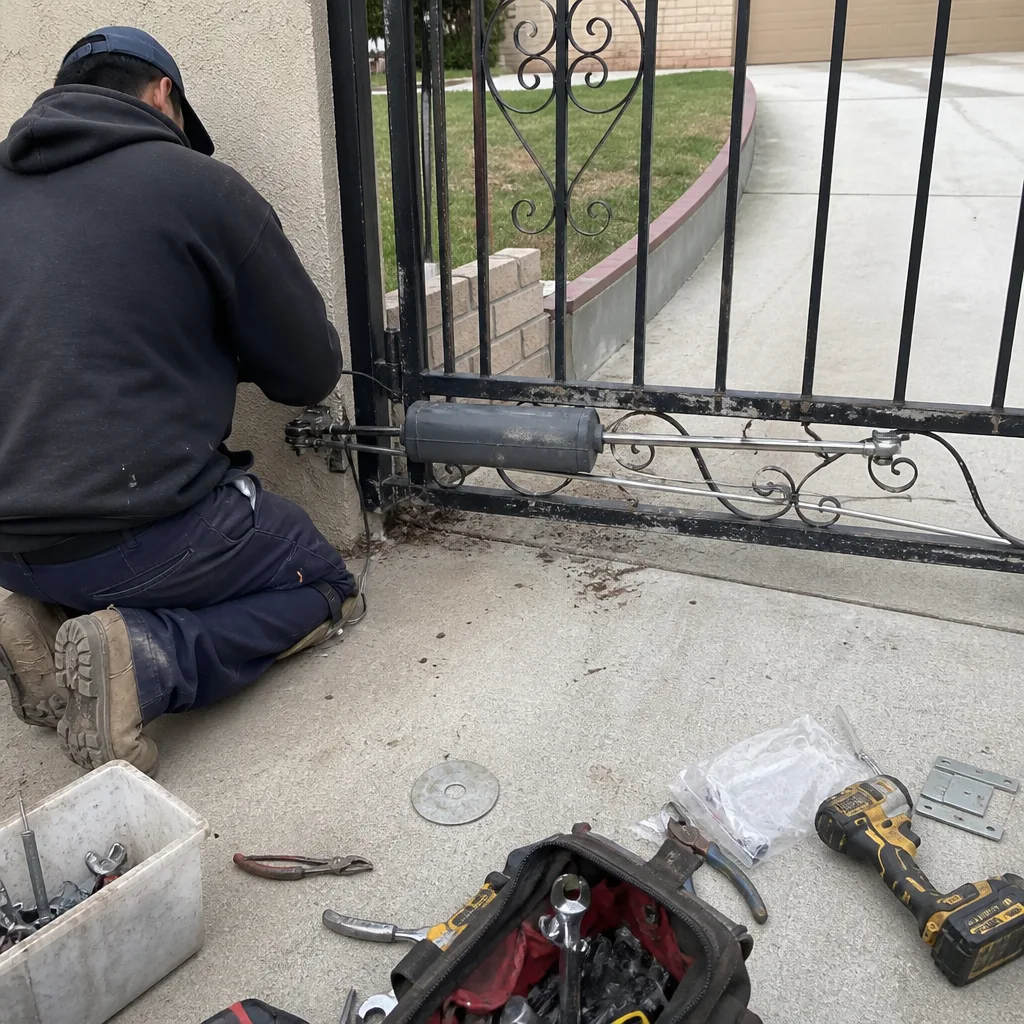 Before
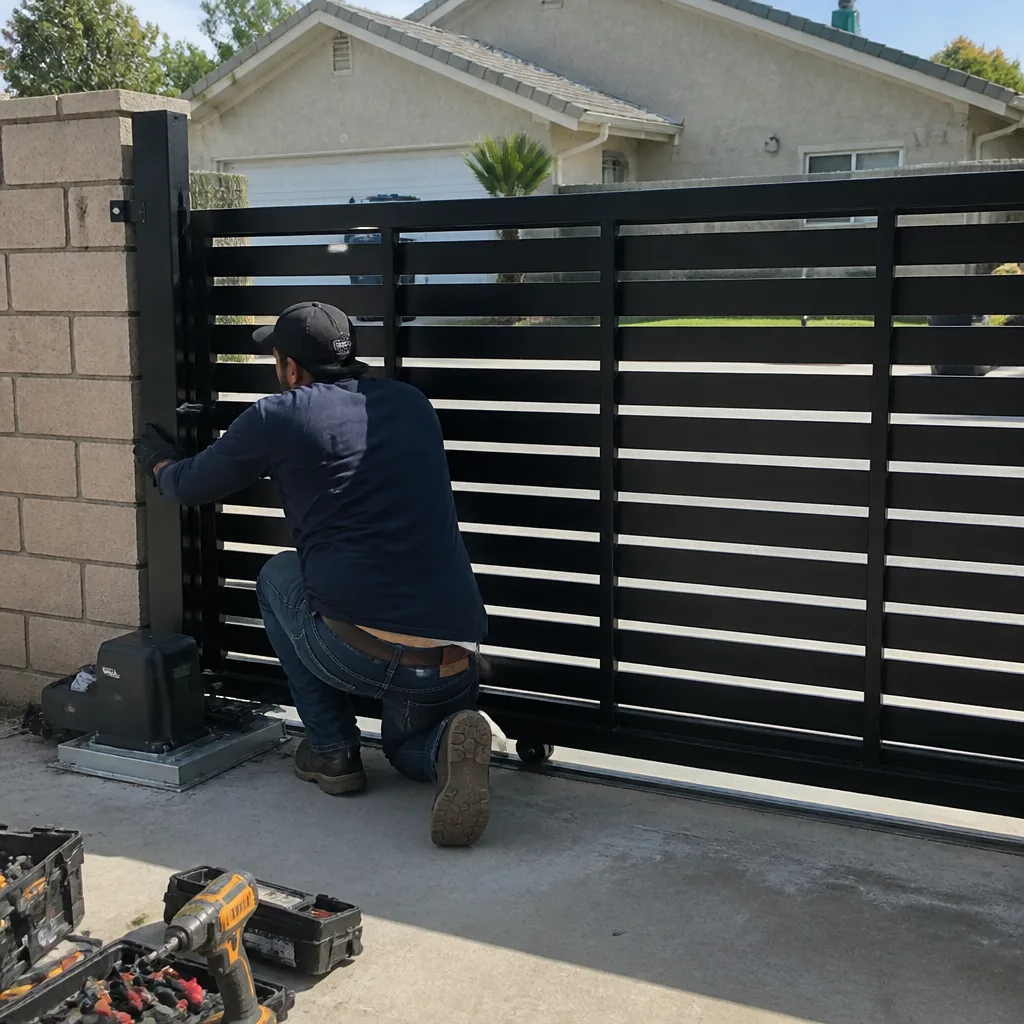 After